


01 / BUILD
Start With the Cab
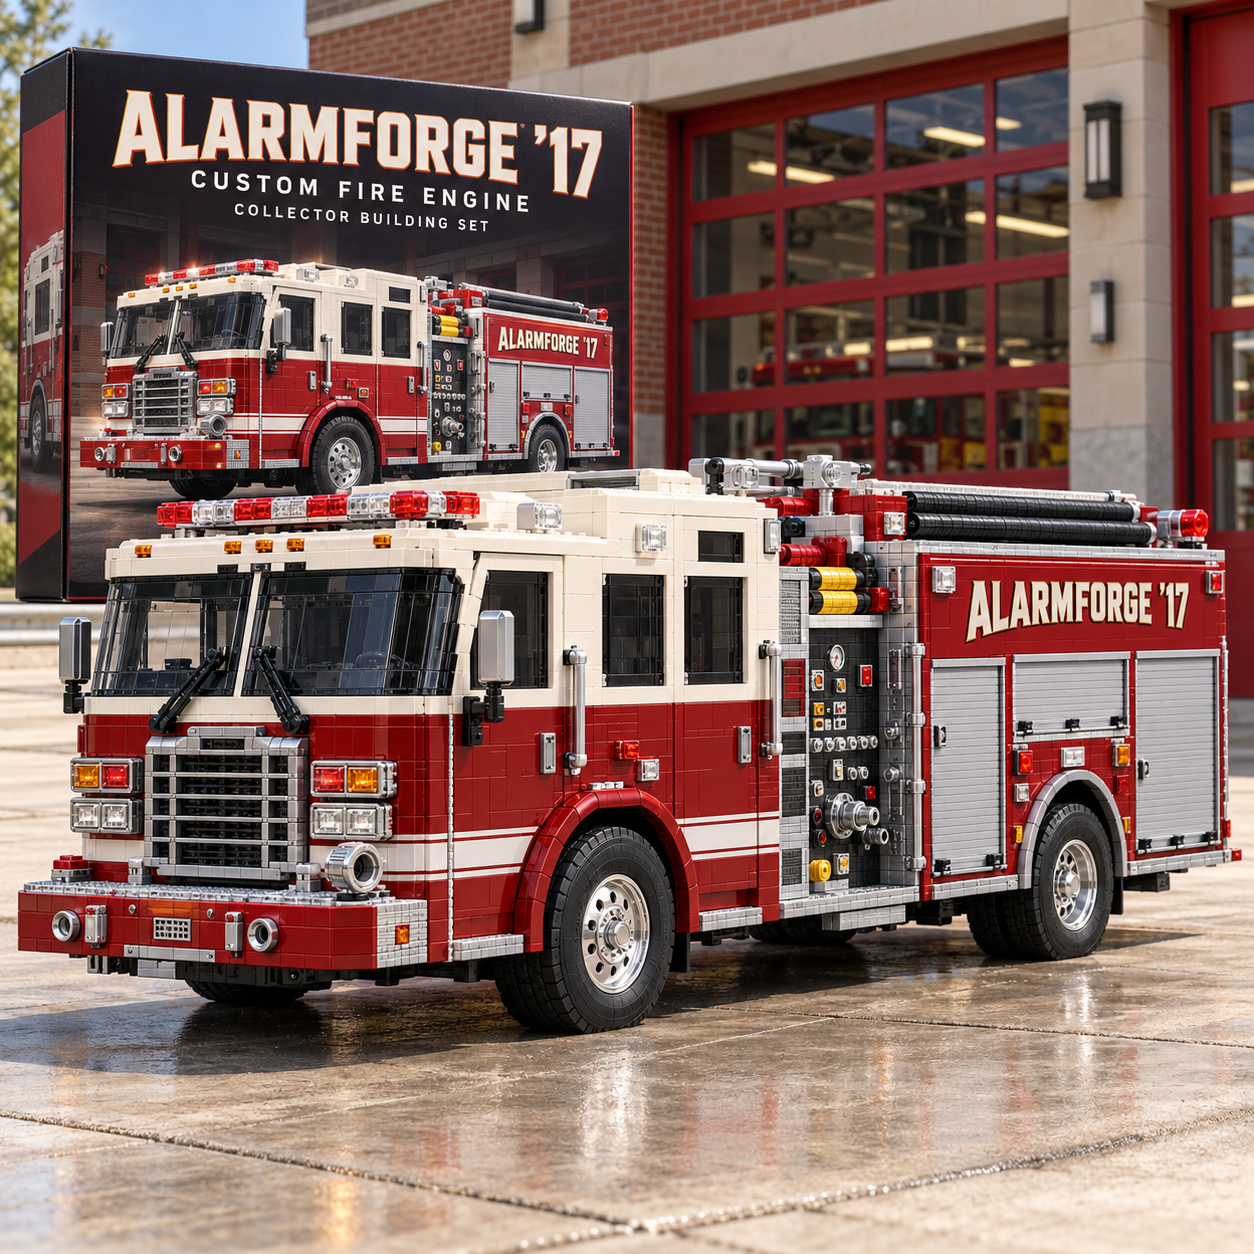
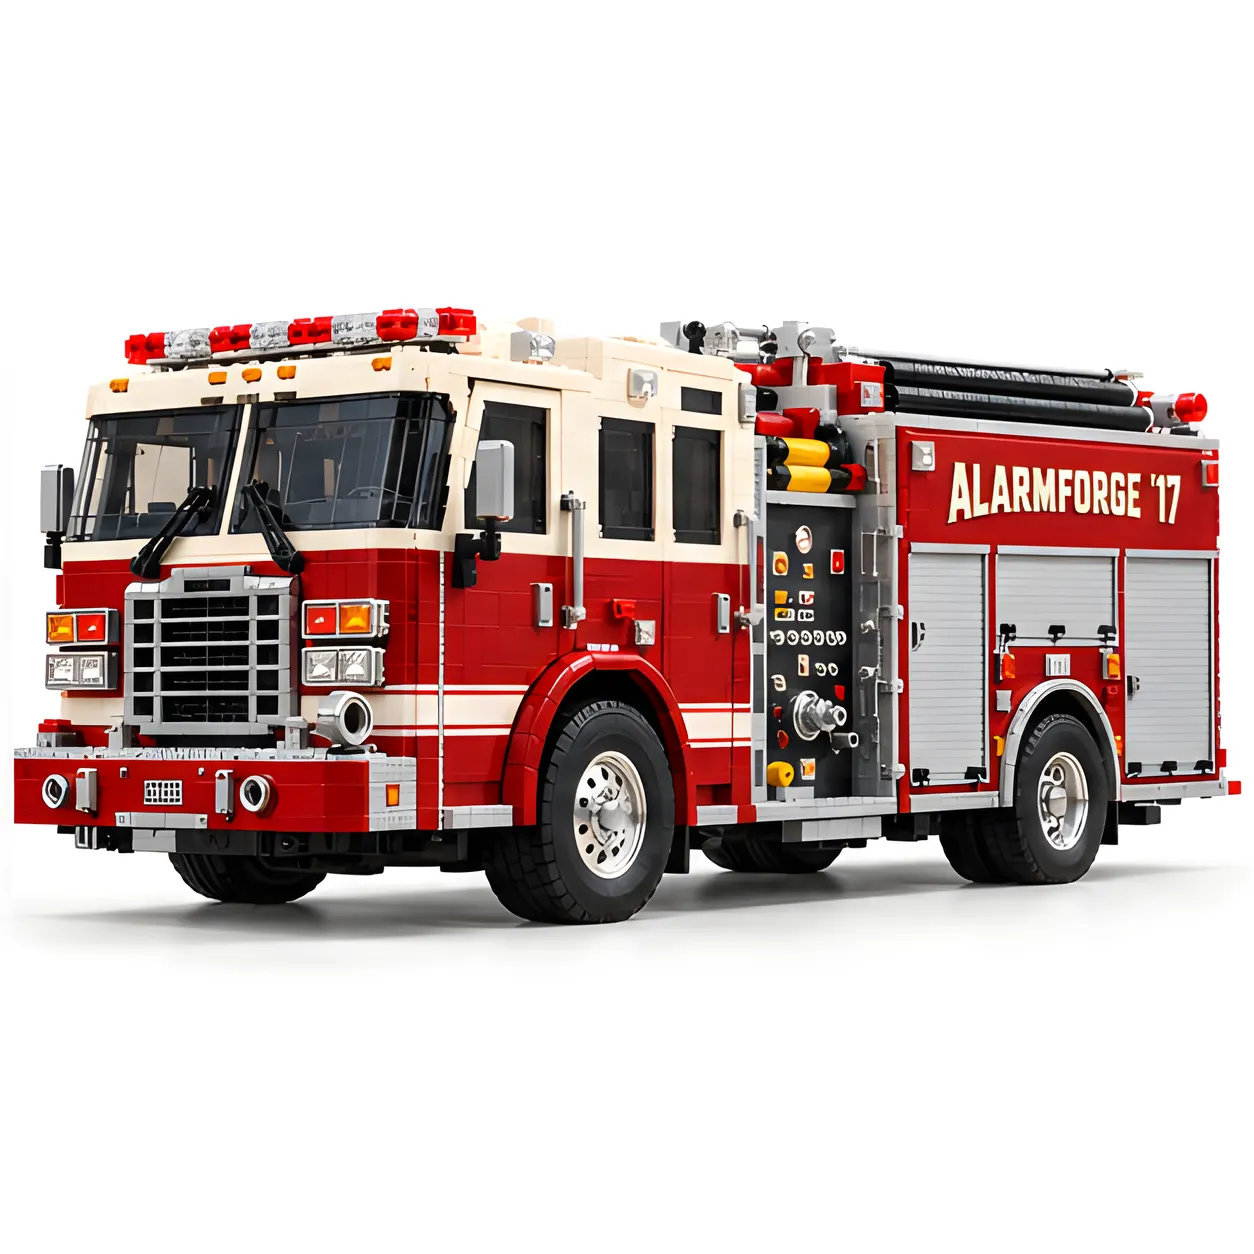
Work through the broad windshield, squared grille, and two-tone cab before the equipment body grows behind it.


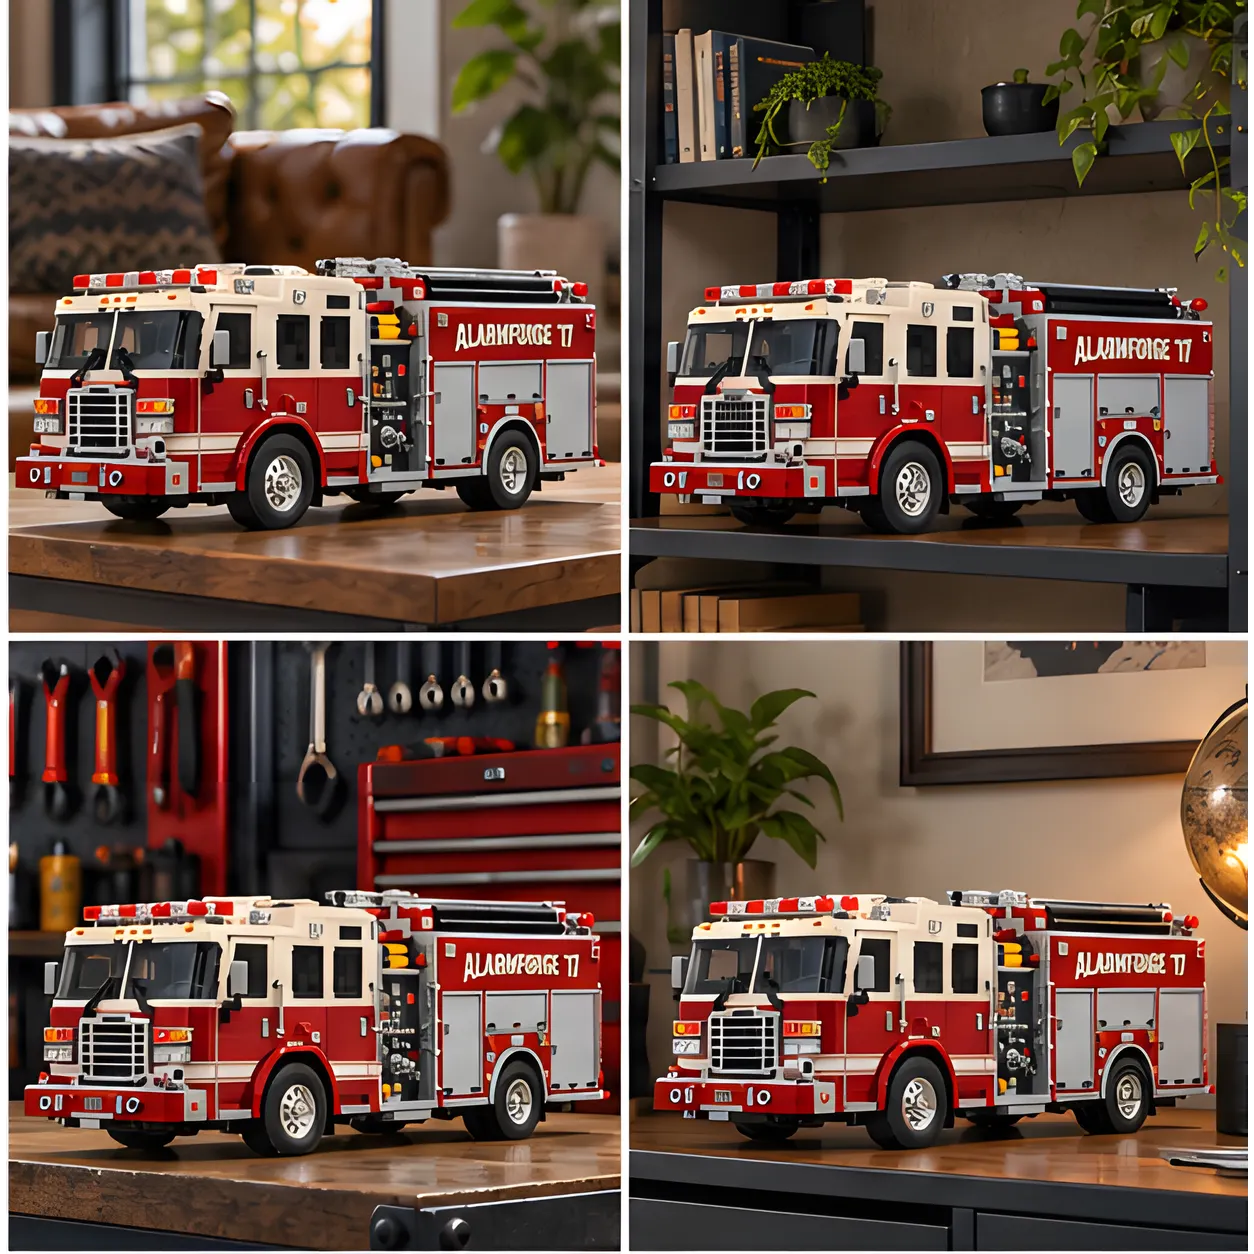

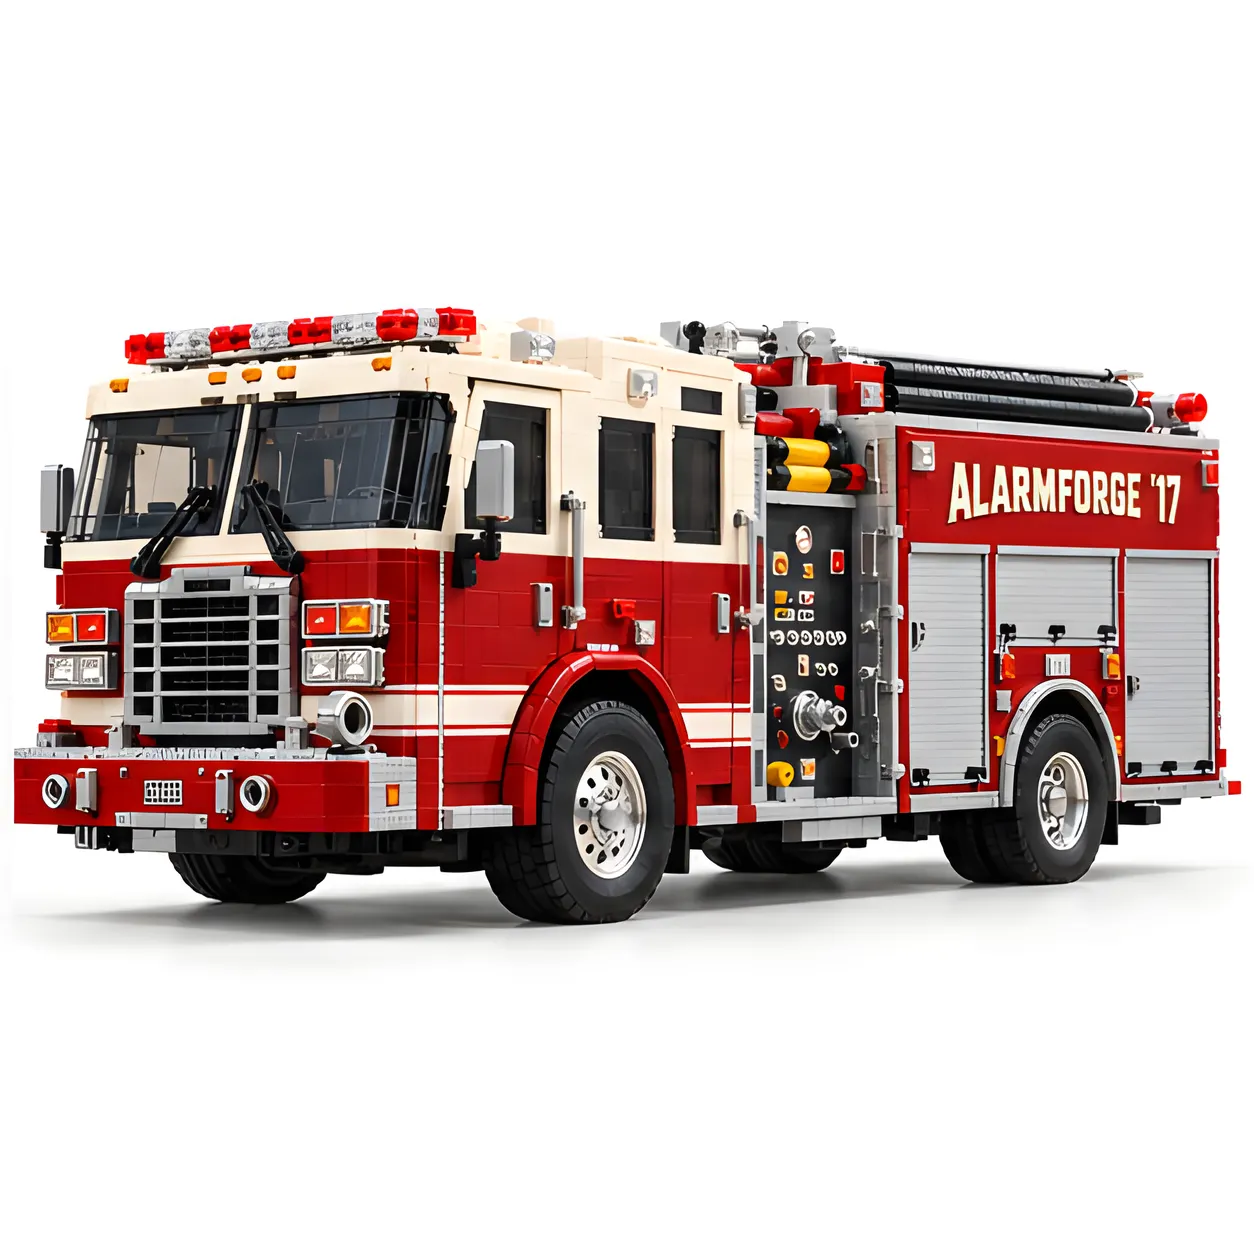
AMERICAN PUMPER | HANDS-ON BUILD
American pumper engines are built around a clear mission: carry firefighters, hose, water, and a pump that can pressurize a fire stream. Over decades, enclosed crew cabs, organized hose storage, and operator-focused pump controls became defining parts of the engine-company silhouette.
This brick building set turns that working layout into a red-and-ivory project, with a broad crew cab, layered front grille, dense operator controls, roll-up compartments, and stacked roof hoses. It suits adult fire-service enthusiasts, truck fans, and builders who enjoy finishing a detailed vehicle together or setting it on a shelf afterward.
From working pumper details to a project worth keeping
WHAT MAKES THIS BUILD DISTINCT
From the broad cab to the equipment-heavy flank, this set gives fire-engine fans several different kinds of structure to build, talk through, and keep in view.
WHY PUMPERS STAY MEMORABLE
The first spark can be as simple as seeing a red pumper at a station door or hearing one pass on a city street. Its identity comes from purposeful hardware: a wide crew area up front, a deep grille, a working side full of gauges and hose connections, and storage running the length of the body.
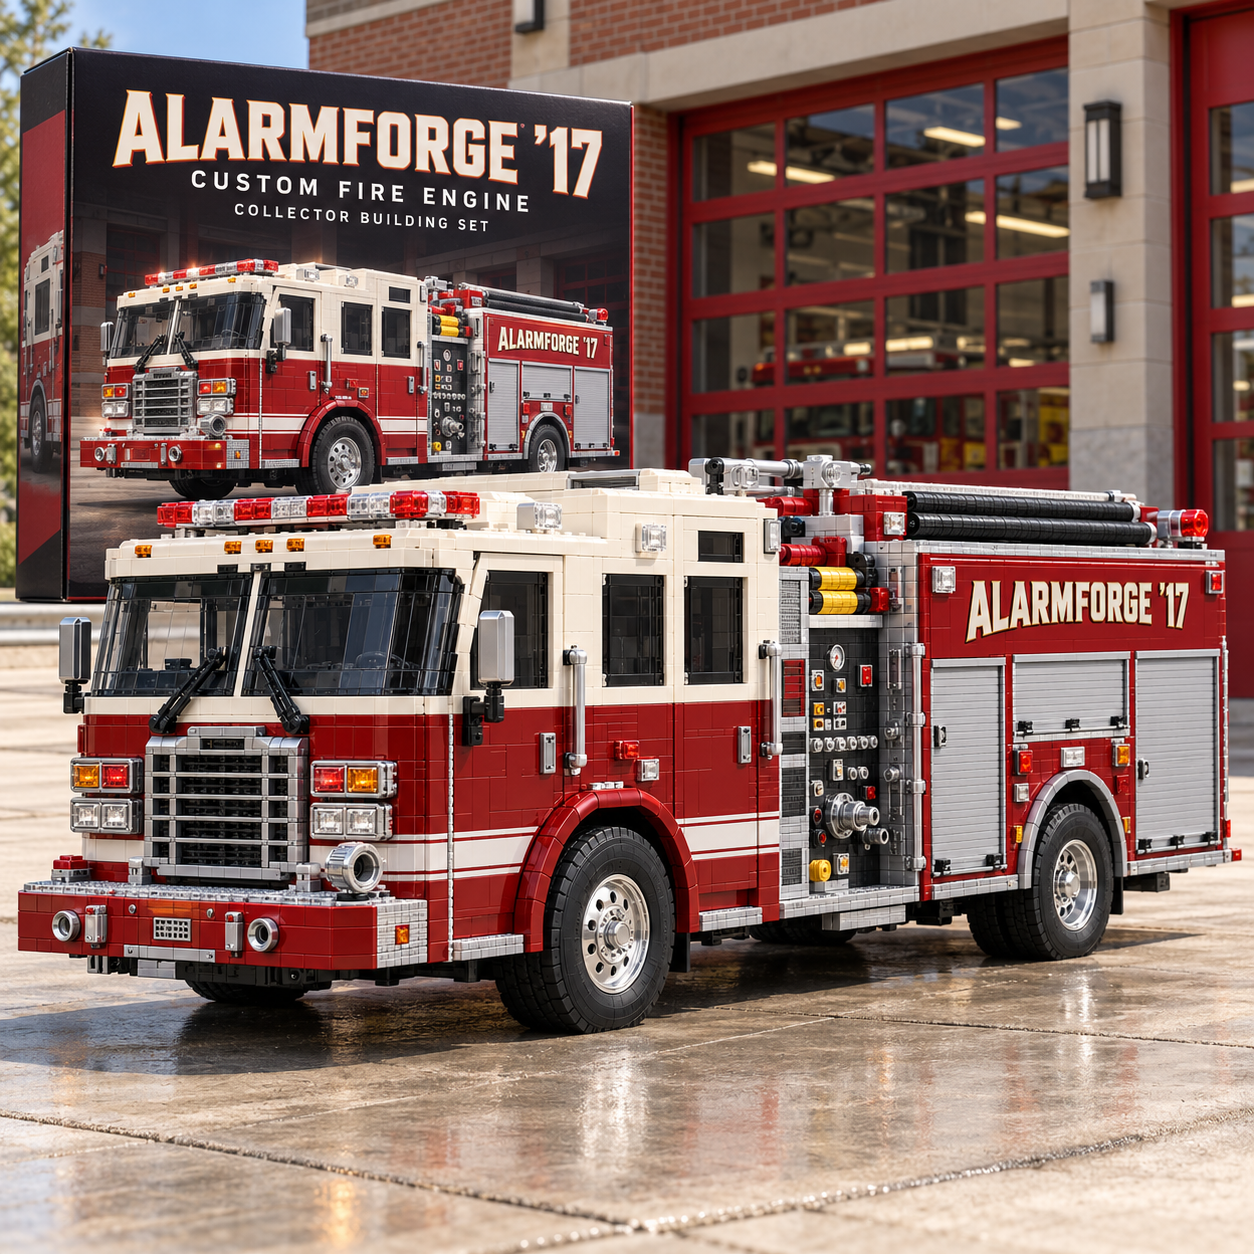
ALARMFORGE ’17 turns those cues into a brick project. As the ivory cab, red body, silver compartment faces, pump-side controls, and upper hose storage come together, the subject shifts from something you recognize to something you have spent time finishing with your own hands.
Start with the rig that caught your eye; finish with one that has a place at home.
MAKE ROOM AT THE TABLE
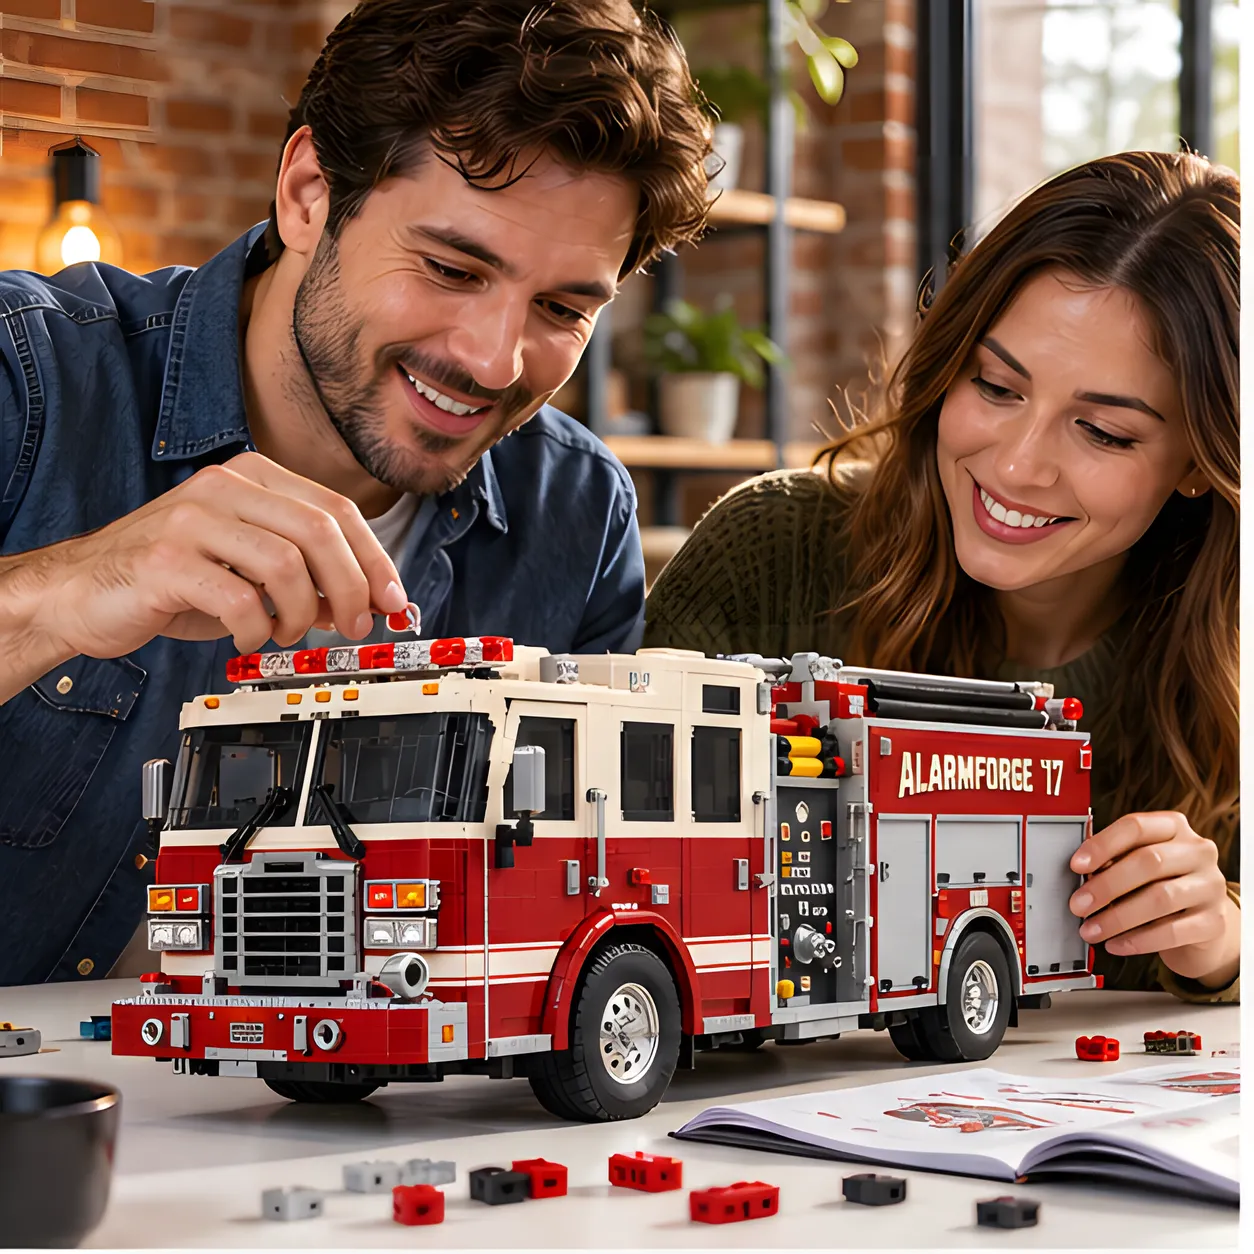
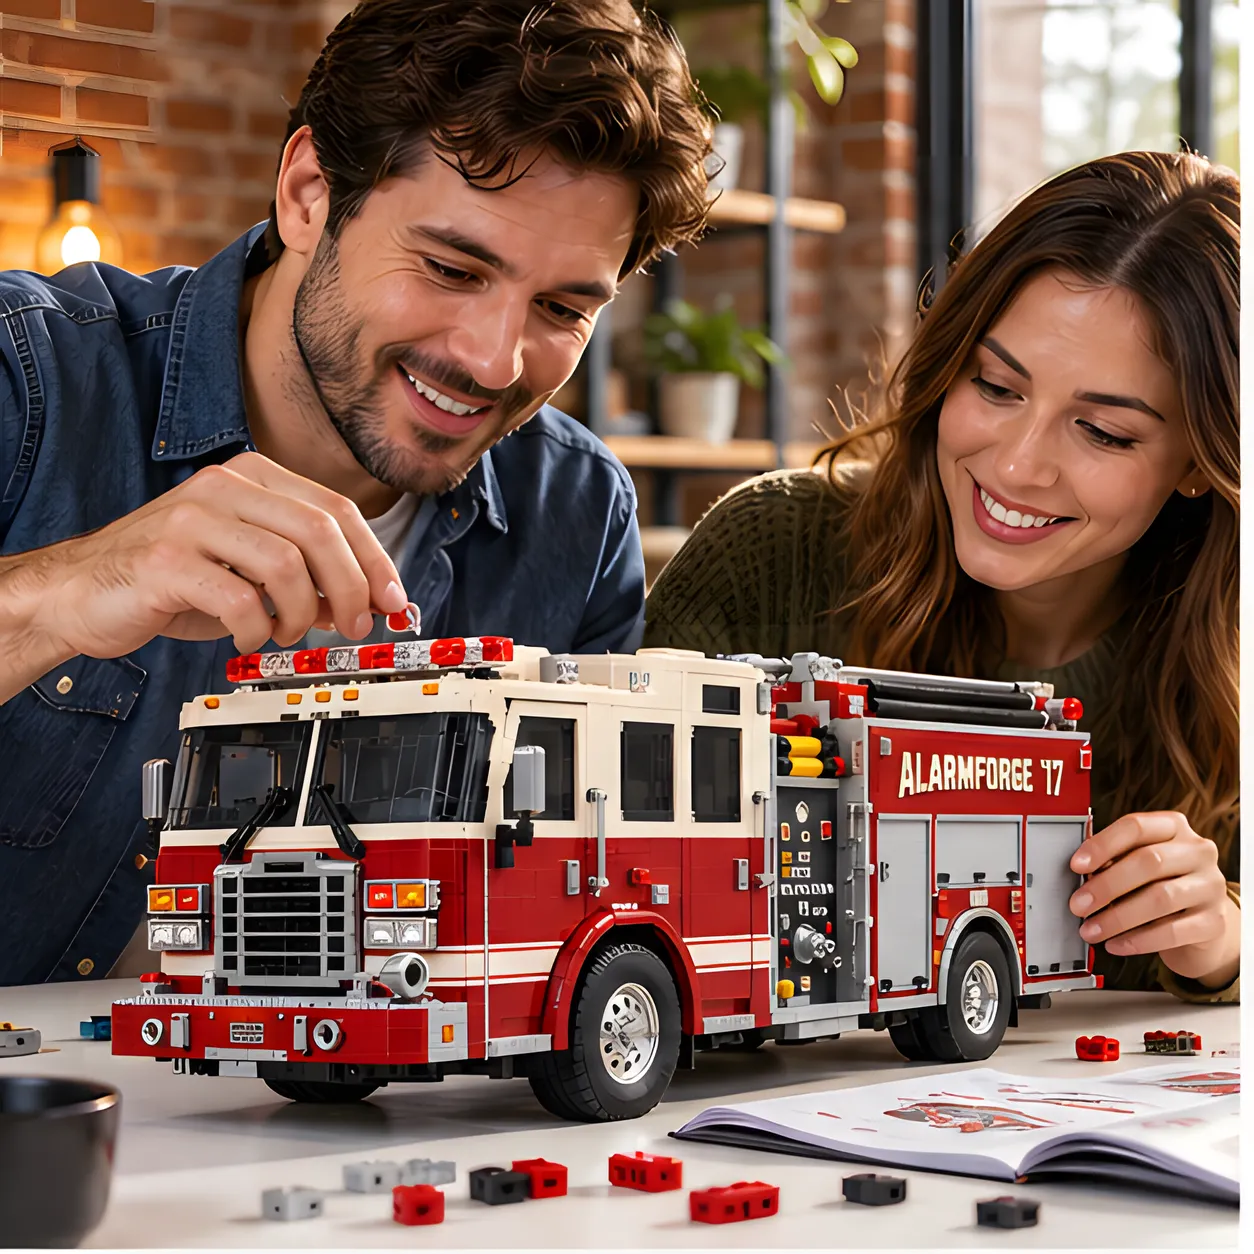
Clear a table, spread out the red, ivory, black, and gray pieces, and start by finding the shapes that define the cab. One person can sort while the other follows the next section, then switch as the grille, windows, and front lights begin to lock the pumper’s face into place.
Keep going through the pump-side hardware, silver compartment fronts, and upper hose storage, comparing details as each section fills out. When the last pieces are in, leave the finished brick-built truck somewhere visible so the time at the table becomes part of what you remember about it.
The best part is having a section to point at and say, “We finished that one.”
BUILD | CELEBRATE | DISPLAY
This set works as a hands-on vehicle project, a nod to American engine-company design, and a finished piece with enough red, ivory, and equipment detail to stay visible.
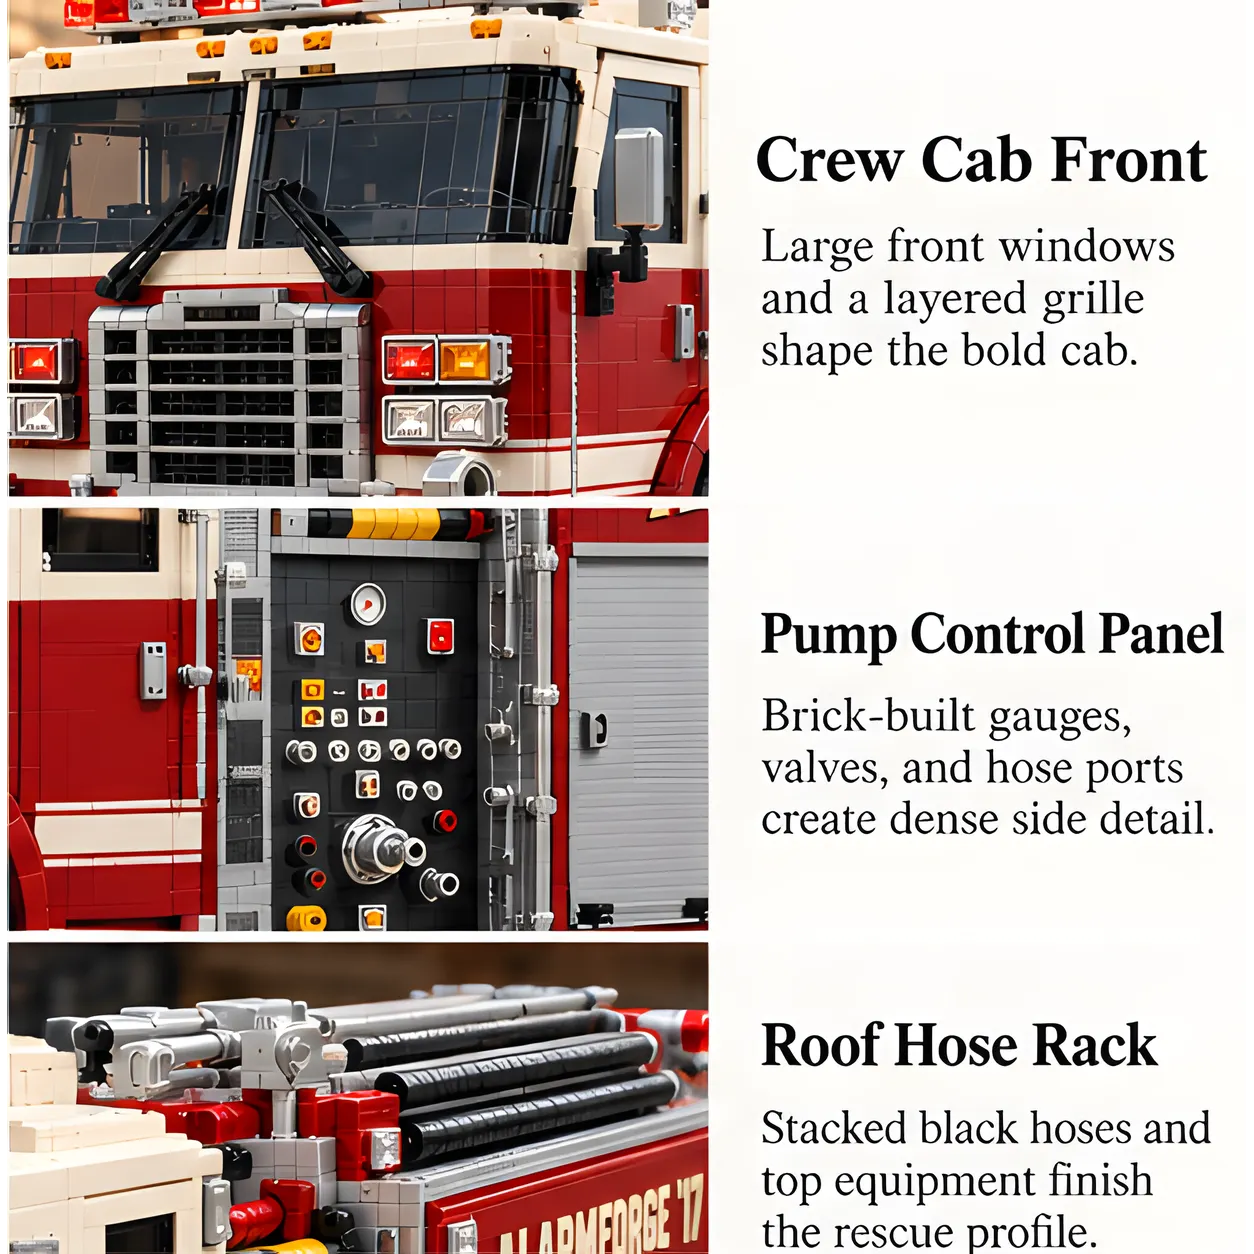
Work through the broad windshield, squared grille, and two-tone cab before the equipment body grows behind it.
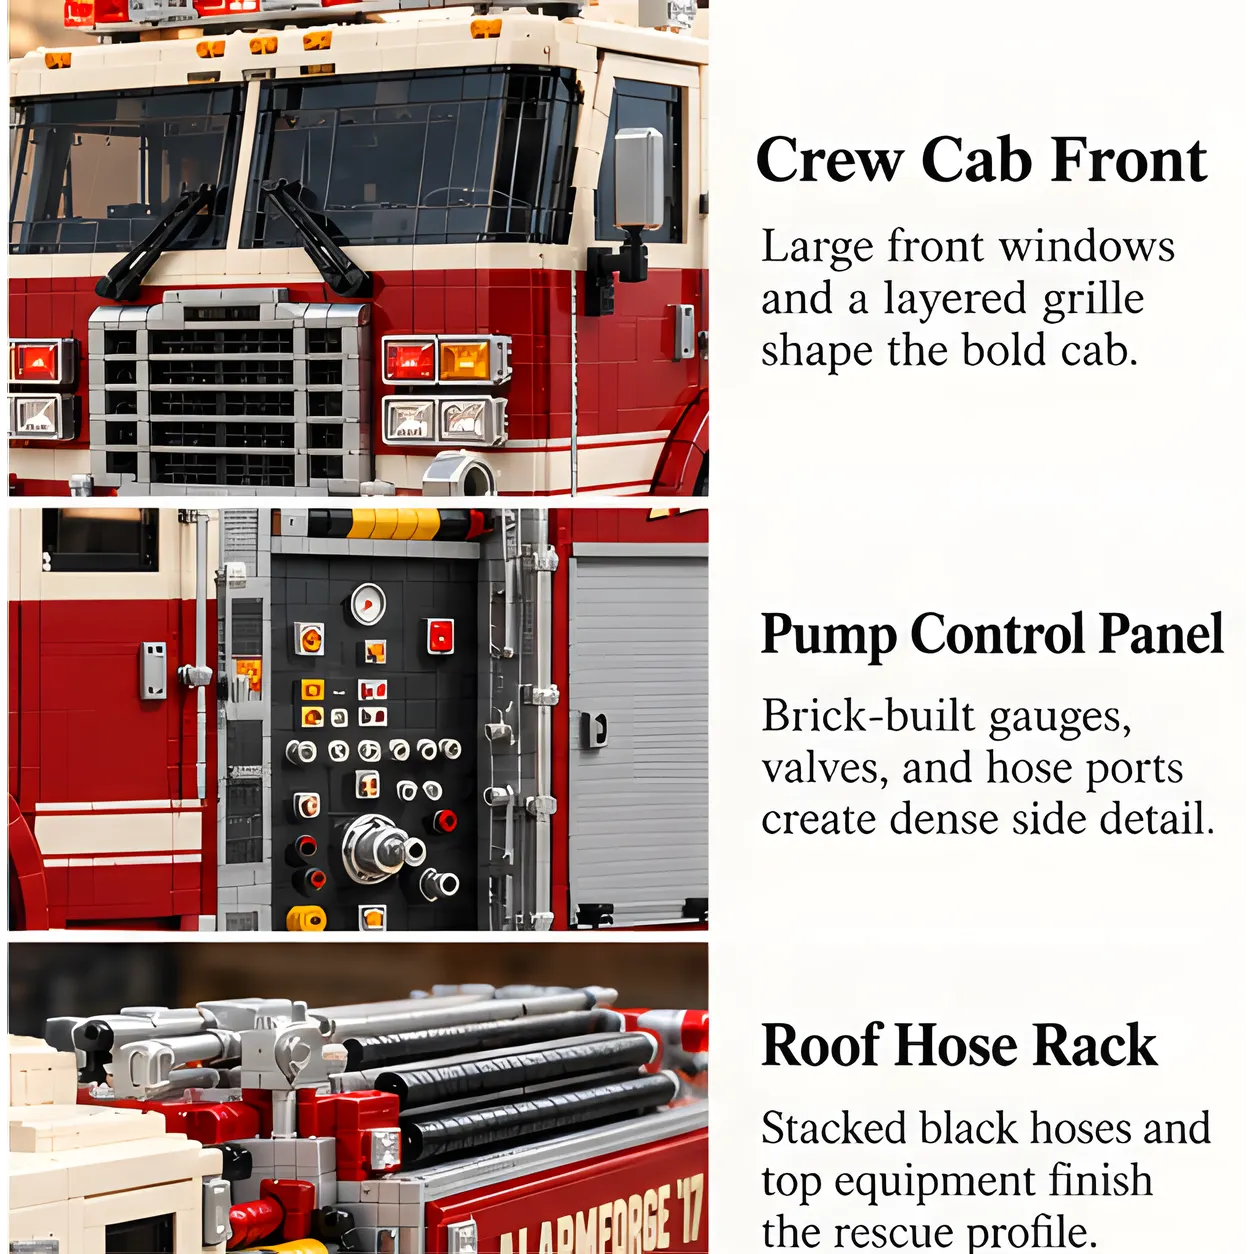
The side pump panel and hose connections echo the water-control area that gives a real pumper much of its identity.
The roof hose rack, silver compartment faces, and long red body create a side profile that reads clearly on a shelf.
THREE SIGNATURE AREAS
Each close-up points to a real fire-engine design idea: crew transport up front, water management at mid-body, and hose-carrying capacity above and behind the cab.
THREE PHASES AT THE TABLE
The experience moves from sorting colors, to recognizing the pumper’s working anatomy, to finishing a display-ready brick build.
Group the red body pieces, ivory cab sections, dark windows, and gray hardware so the first session starts with an easy visual rhythm.
The broad windshield, layered front grille, and pump-side controls turn a spread of pieces into a recognizable American fire-engine profile.
Add the roll-up equipment doors, roof hose rack, lights, and final trim, then choose a spot where the completed set can stay in view.
AFTER THE LAST PIECE
The red-and-ivory cab, silver side doors, dense water-control hardware, and stacked hoses give this build enough visual variety to reward a longer look after the project is done.
PUT SOMETHING PHYSICAL ON THE TABLE
Set the phones aside for a while and work through the crew cab, water-control hardware, and stacked hoses at your own pace. The point is simple: handle real pieces, compare what comes next, and finish something you can leave in the room.
FOR THE FIRE-ENGINE PERSON
Choose it for an adult fire-service enthusiast, truck fan, brick builder, partner, friend, or family member who notices crew cabs, pump controls, and hose storage. Birthdays, holidays, retirements, and collector occasions all give the set a natural reason to land on the table.
The value comes in two parts: first, there is a hands-on project with recognizable pumper details to work through; afterward, the red-and-ivory truck remains as a display piece that carries the memory of the time spent building it.
A project first, a fire-engine keepsake afterwardGOOD TO KNOW
It is a brick building set intended to be assembled piece by piece. The finished result is a red-and-ivory pumper-style fire engine.
The broad crew cab, layered grille, dense pump-side controls, silver roll-up compartments, and stacked upper hoses give the set its strongest pumper identity.
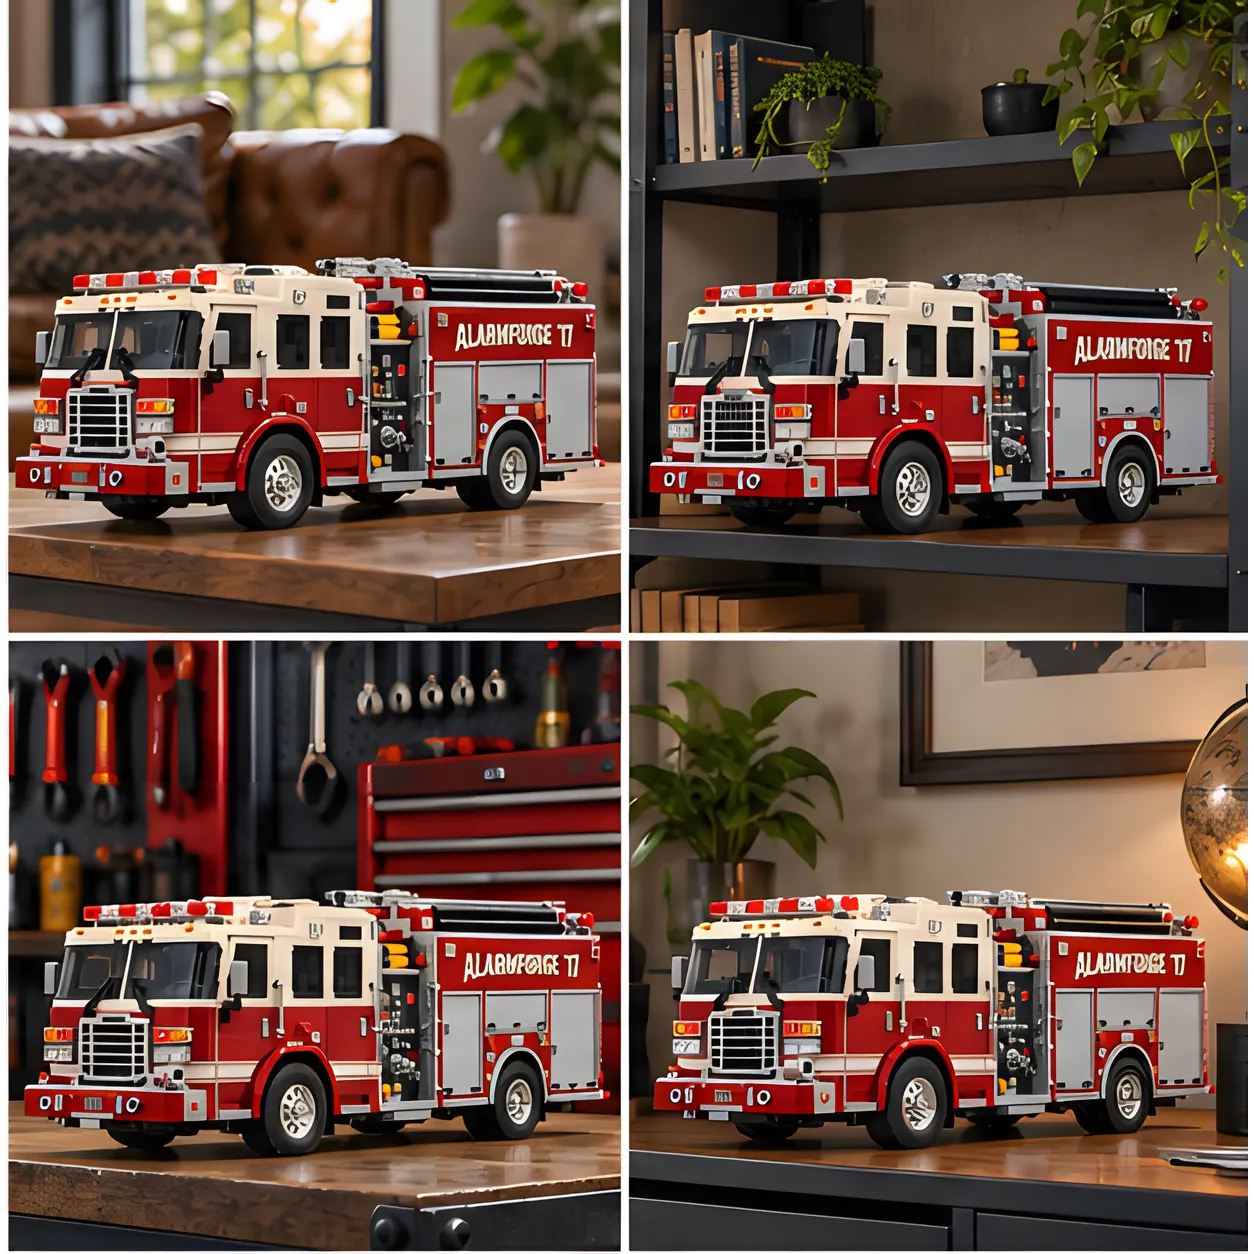
Yes. Its long equipment body, two-tone cab, side hardware, and hose storage make it well suited to a shelf, office, bookcase, or collector display.
Yes. Two builders can sort pieces, follow sections, and compare details as the cab and equipment body develop. The set contains small parts, so younger children should build only with adult supervision.
It fits adult fire-service enthusiasts, emergency-vehicle fans, truck collectors, and brick builders who enjoy detailed mechanical subjects and a finished piece they can keep on display.
Yes, it's perfectly compatible with LEGO bricks!
ONE ENGINE, ONE FINISHED MEMORY
From the crew cab and layered grille to the water-control hardware and stacked hoses, ALARMFORGE ’17 connects a recognizable American fire-engine shape with the satisfaction of finishing it by hand and the memory attached to where you built it.
THE BUILD JOURNEY
Explore the six steps that bring every build to life.

Every build begins with an idea, refined through sketches and digital models.

Colors, textures, and individual pieces come together to shape the design.

The design takes physical form, with attention to each piece and connection.

Parts are sorted and counted, ready for a clear, organized building experience.

Pieces and instructions are brought together in a set ready to open and enjoy.

The finished set is packed for its next destination: your building table.
Process images are for illustration only.
BUILT FOR CURIOUS MINDS
Discover the details. Enjoy the build. Display what you create.
Connect each piece and enjoy seeing your model take shape, one detail at a time.
Explore distinctive forms and small details that give the finished model its character.
Take time to build, discover how it all fits together, and create something to display.
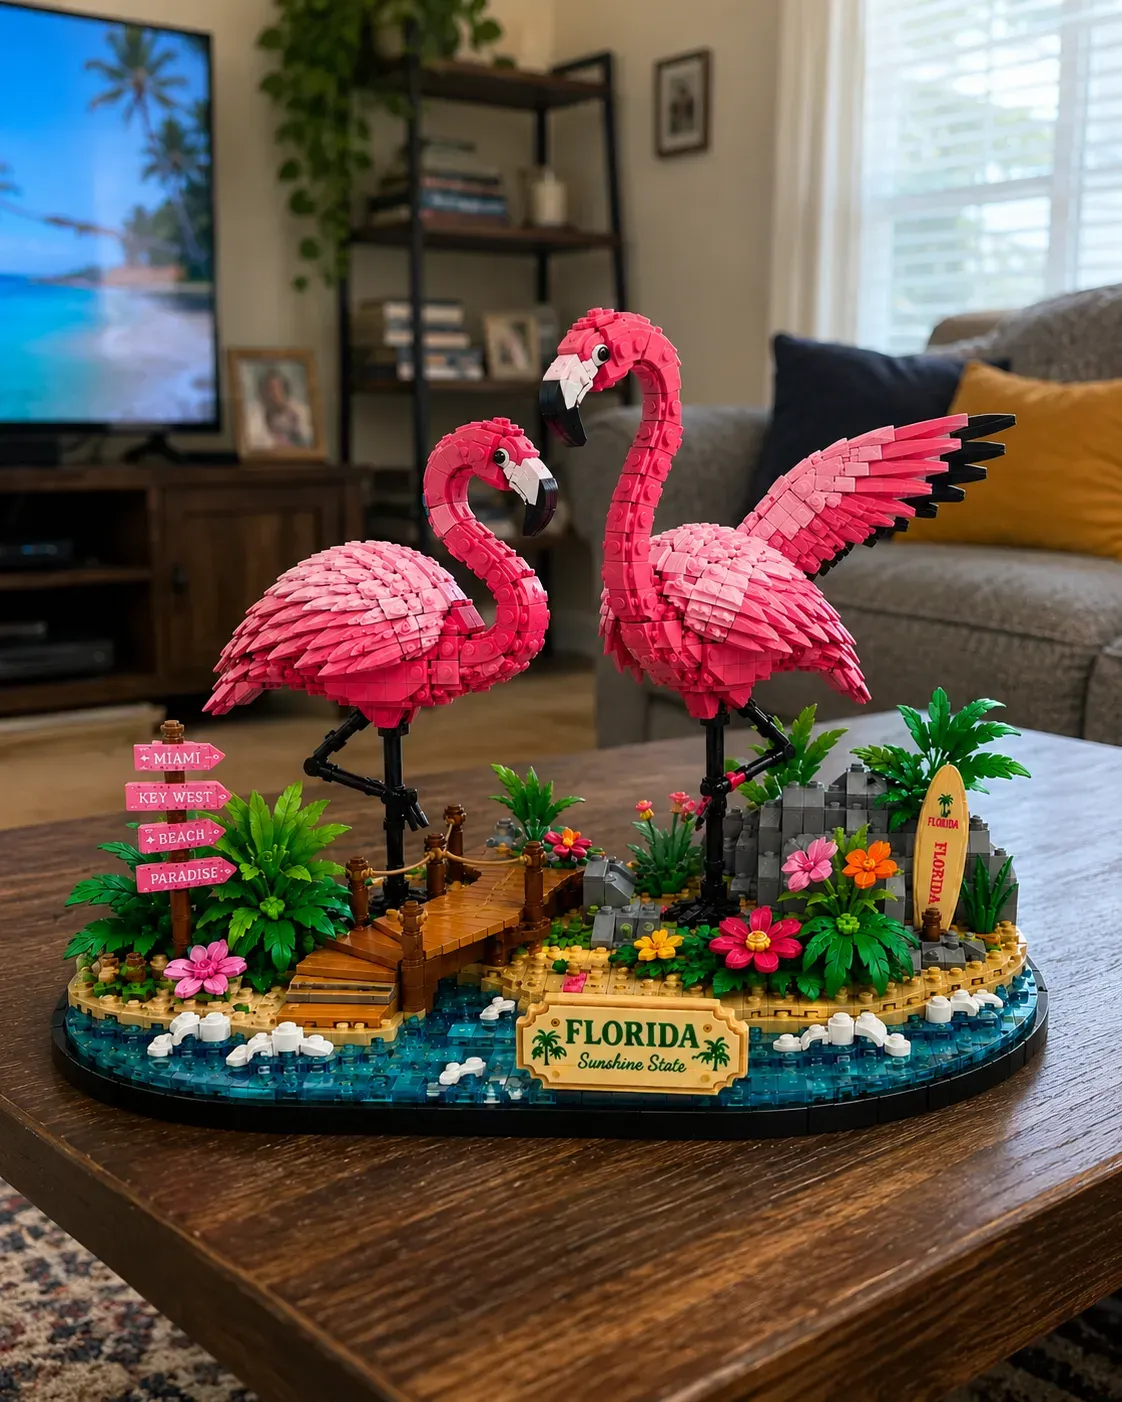
“The colors make this such a cheerful display. Watching the scene come together was my favorite part of the build.”— Olivia Bennett
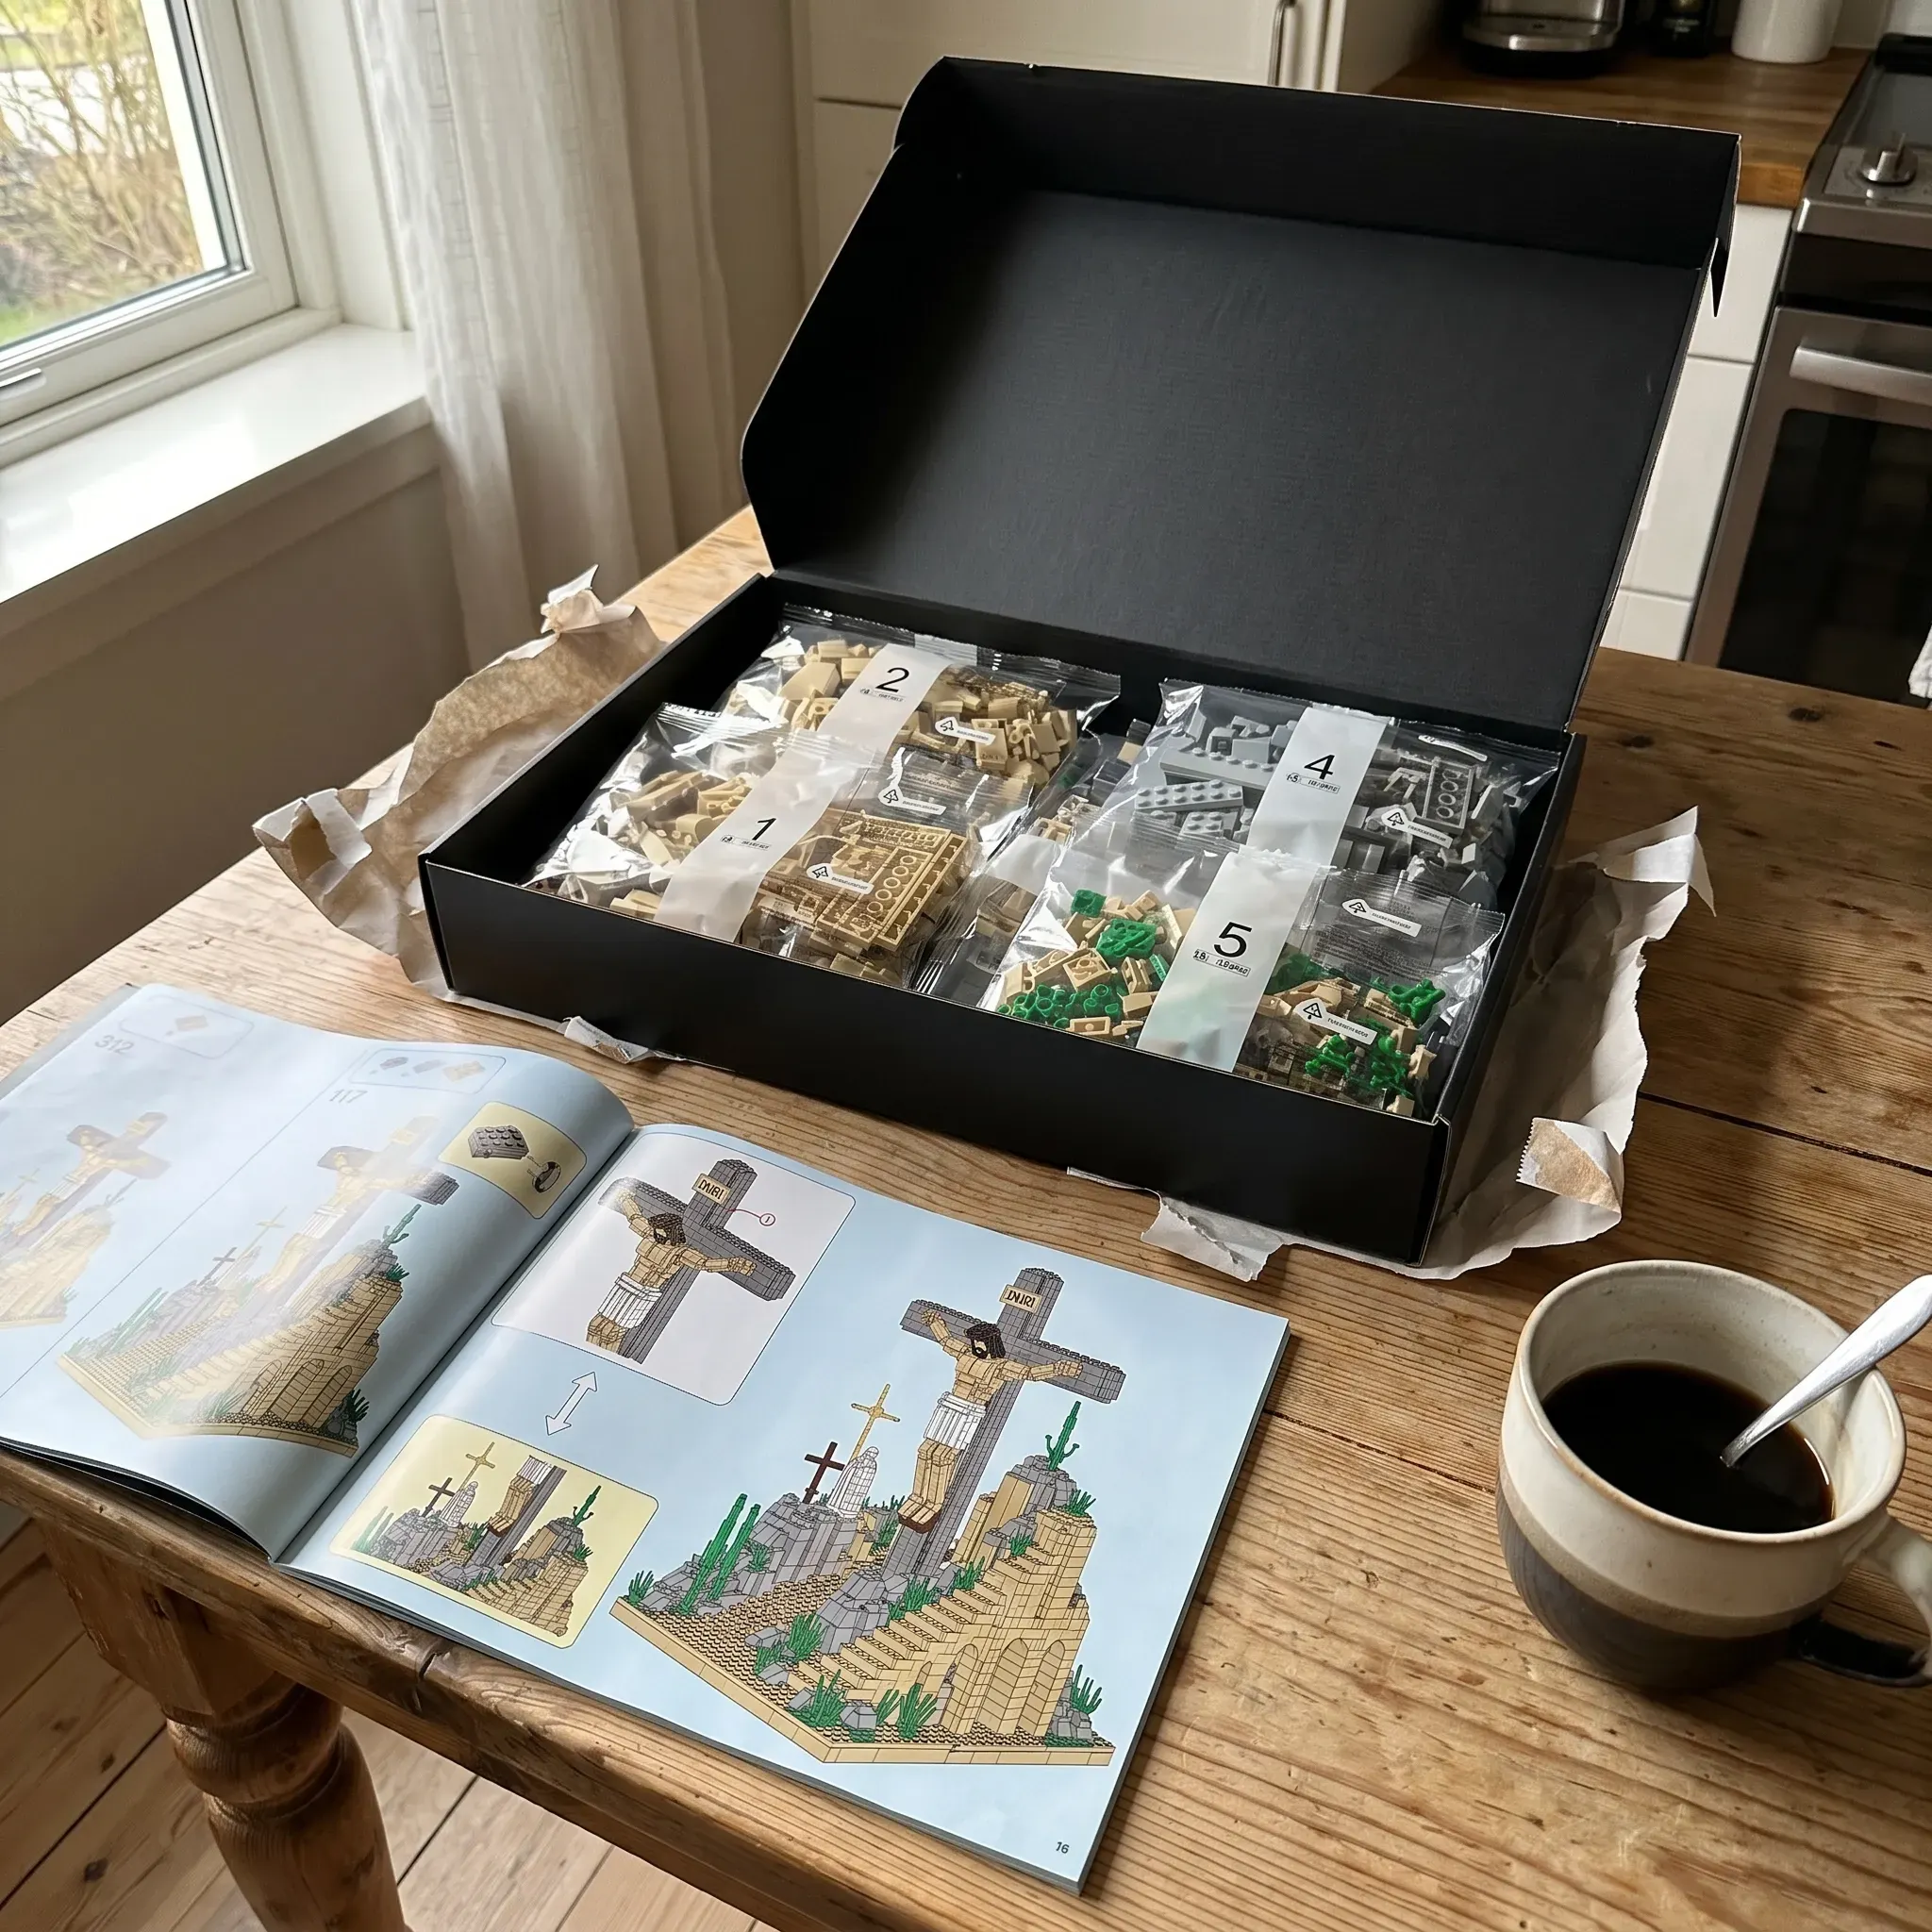
“A relaxing project for a quiet afternoon. I liked taking my time with the small details and seeing the finished result.”— Ethan Carter
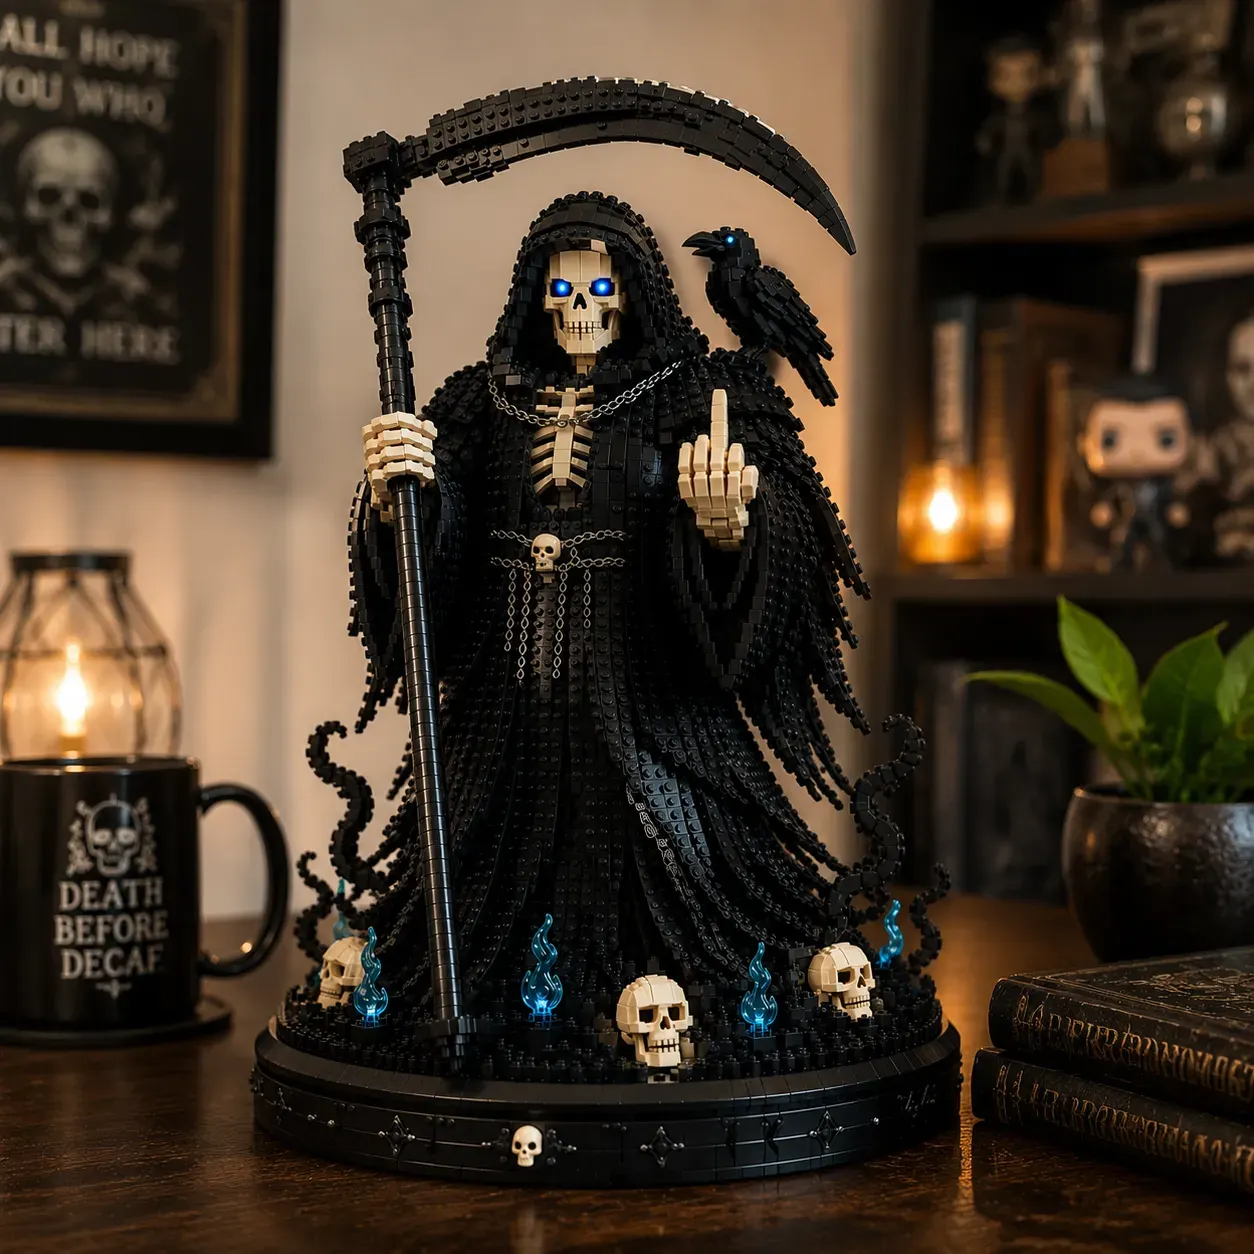
“The character has so much personality on the shelf. Some of the tiny pieces took patience, but I enjoyed the challenge.”— Sophia Reed
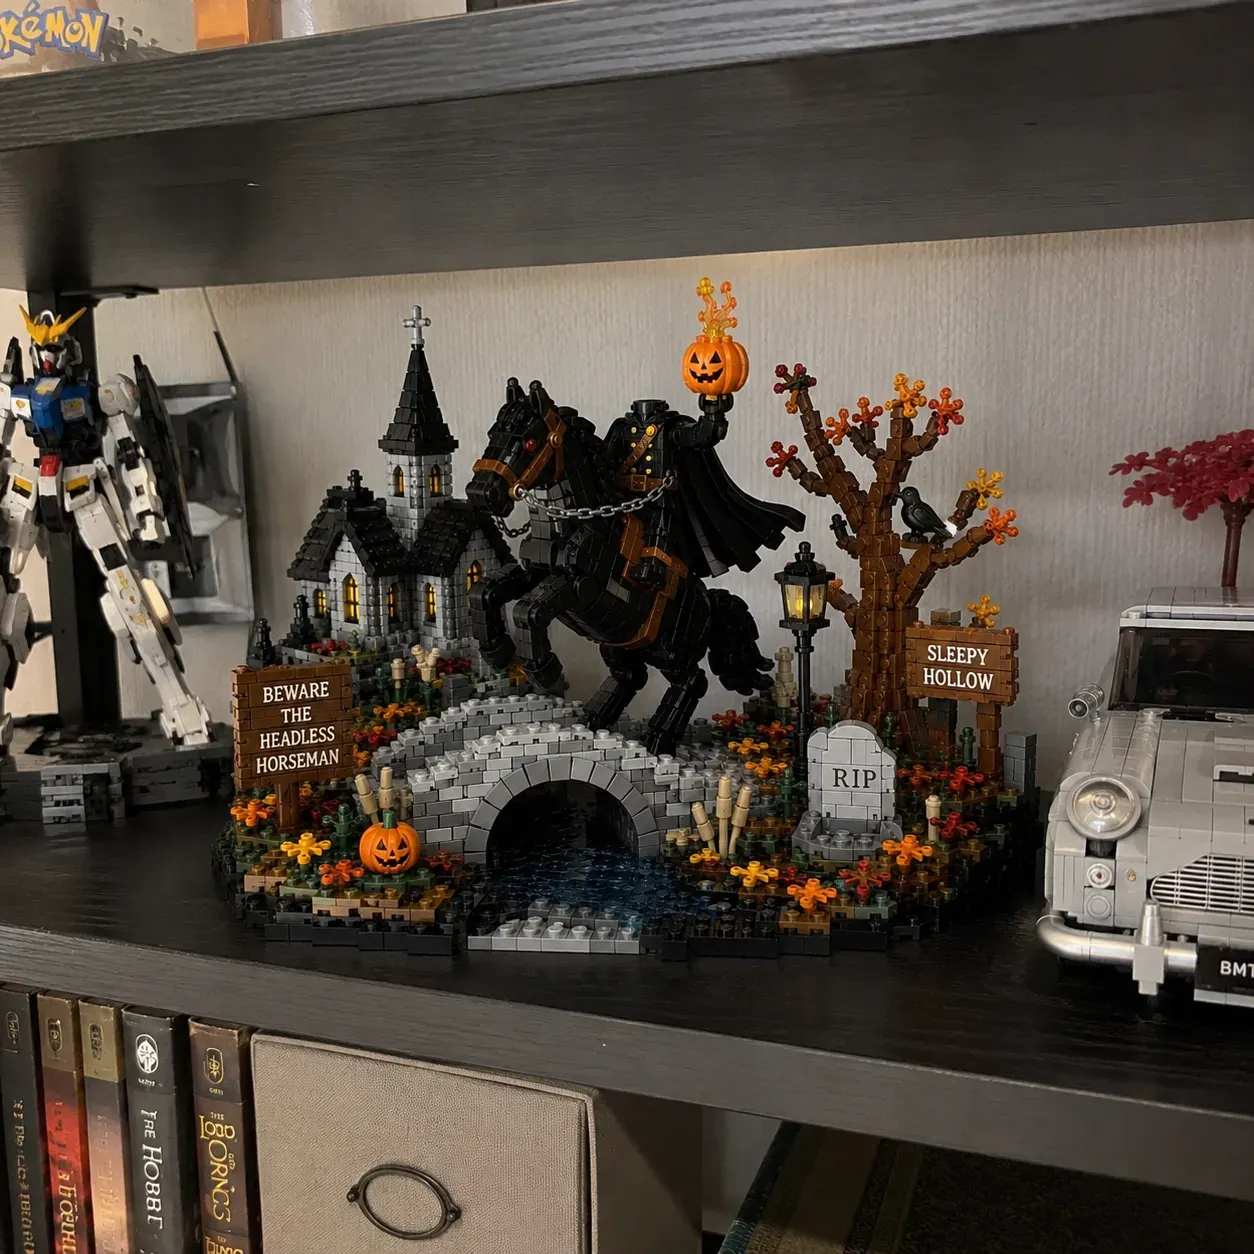
“There are little details to discover throughout the scene. It was a fun seasonal project to put together and display.”— Lucas Morgan
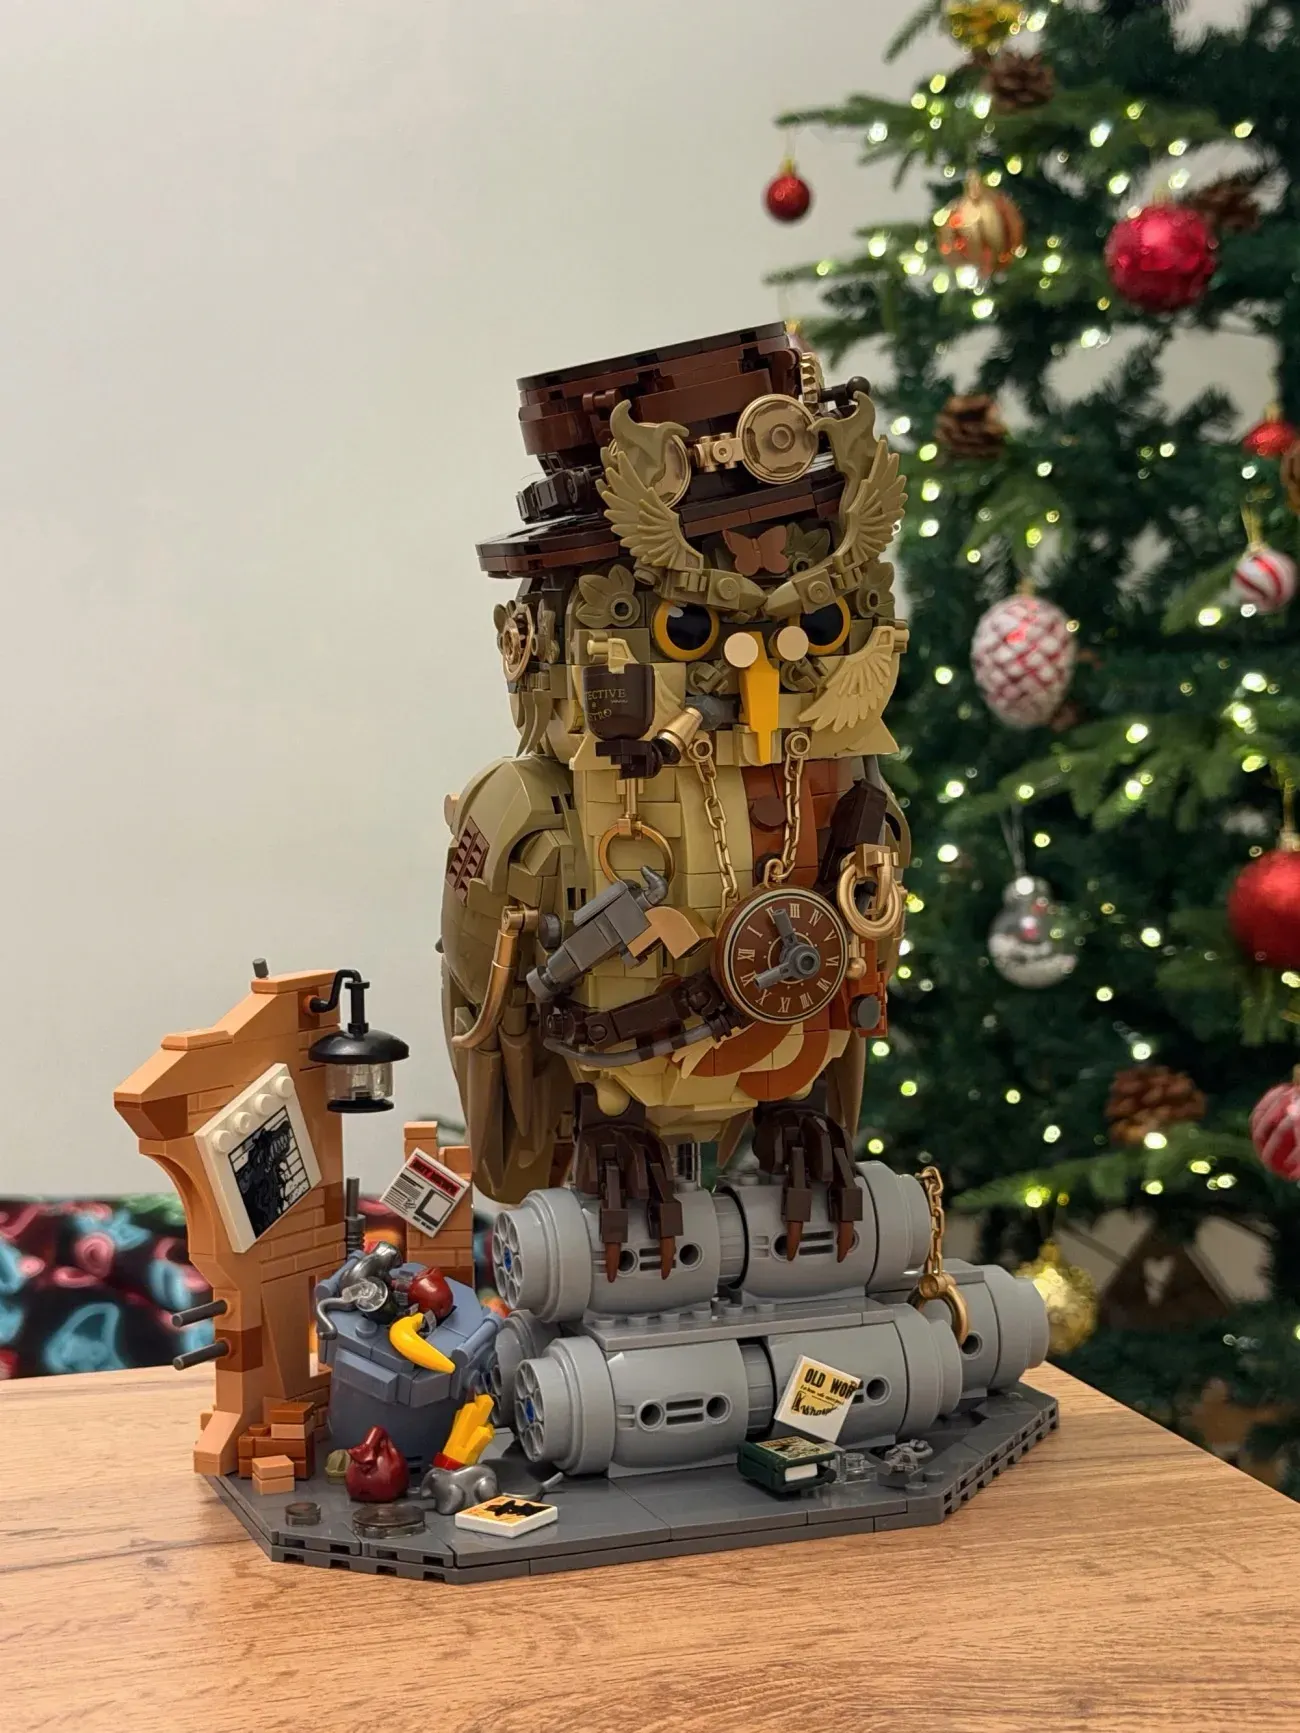
“The layered details give the owl a distinctive look. It has become an eye-catching piece in my collection.”— Emma Hayes
loading