


01 / BUILD
Raise the Sleeper Roof
Watch the cab gain height as the angled roof windows and twin side stacks lock into the upper structure.









Late-1970s Highway Character
Cab-over-engine highway tractors became a defining sight on American interstates in the 1970s, when shorter tractor packages helped fleets make the most of overall-length rules. Raised sleeper roofs soon added more space and a more dramatic long-haul profile, turning these workhorses into lasting icons of the truck-stop era.
Skylit Miles '79 turns that profile into a hands-on brick build, with a broad slatted grille, twin vertical exhaust stacks, a high sleeper roof with two angled windows, a tandem-drive rear layout, and a navy-and-cream livery. It suits adult truck fans and builders drawn to classic highway shapes.
A long-haul silhouette worth building by hand
Why This Build Stands Out
The shape is unmistakably old-school: flat-front proportions, a raised sleeper, and the working-truck hardware that defined a generation of highway tractors.
From Highway Curiosity to Shelf Piece
Spot an old cabover at a truck stop, roadside gathering, or vintage truck show and the proportions stop you: a nearly vertical front, broad grille, tall side stacks, and a sleeper roof rising above the windshield. Those features came from an era when highway tractors had to balance long-distance work with tightly managed overall length.
Skylit Miles '79 gives that curiosity somewhere to go. The navy-and-cream body, angled sleeper windows, paired rear drive axles, and exposed trailer coupling plate turn familiar highway cues into a build you can study as you assemble it, then keep as a compact reminder of classic American trucking.
First it catches your eye. Then you build the reasons why.
Build Side by Side
Clear a table, sort the navy, cream, gray, and silver pieces, and settle into the cab first. One person can hunt for the next grille or roof piece while the other works through the current section, keeping the build moving without turning it into a race.
As the angled sleeper windows, vertical stacks, fuel tank, and rear wheel pairs come together, there is plenty to point out and talk about. Finish the last sections, set the truck on a shelf or desk, and the shared project stays in the room after the building session ends.
The best part is having a truck and an evening to remember.
Three Ways to Enjoy It
This cabover earns its place through the process, the history behind its shape, and the finished profile you get to keep.
Watch the cab gain height as the angled roof windows and twin side stacks lock into the upper structure.
The flat-front grille and high roof echo the highway tractors shaped by American length rules and long-haul life.
Navy-and-cream bodywork, paired rear drive axles, and the exposed coupling plate give the finished build a strong side view.
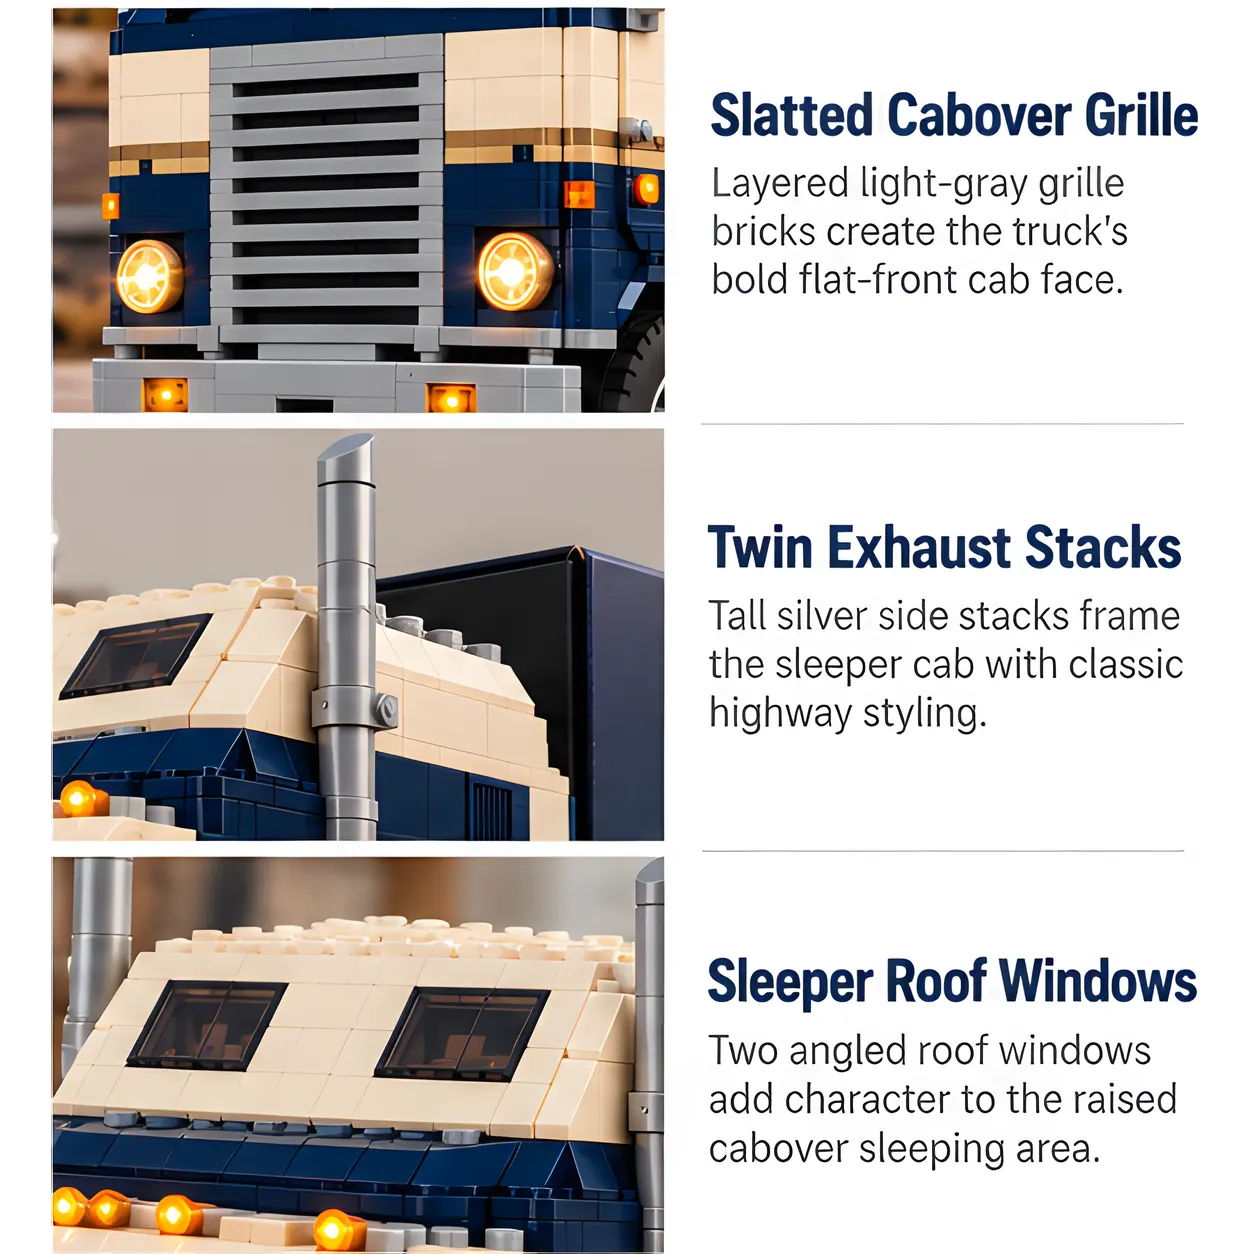
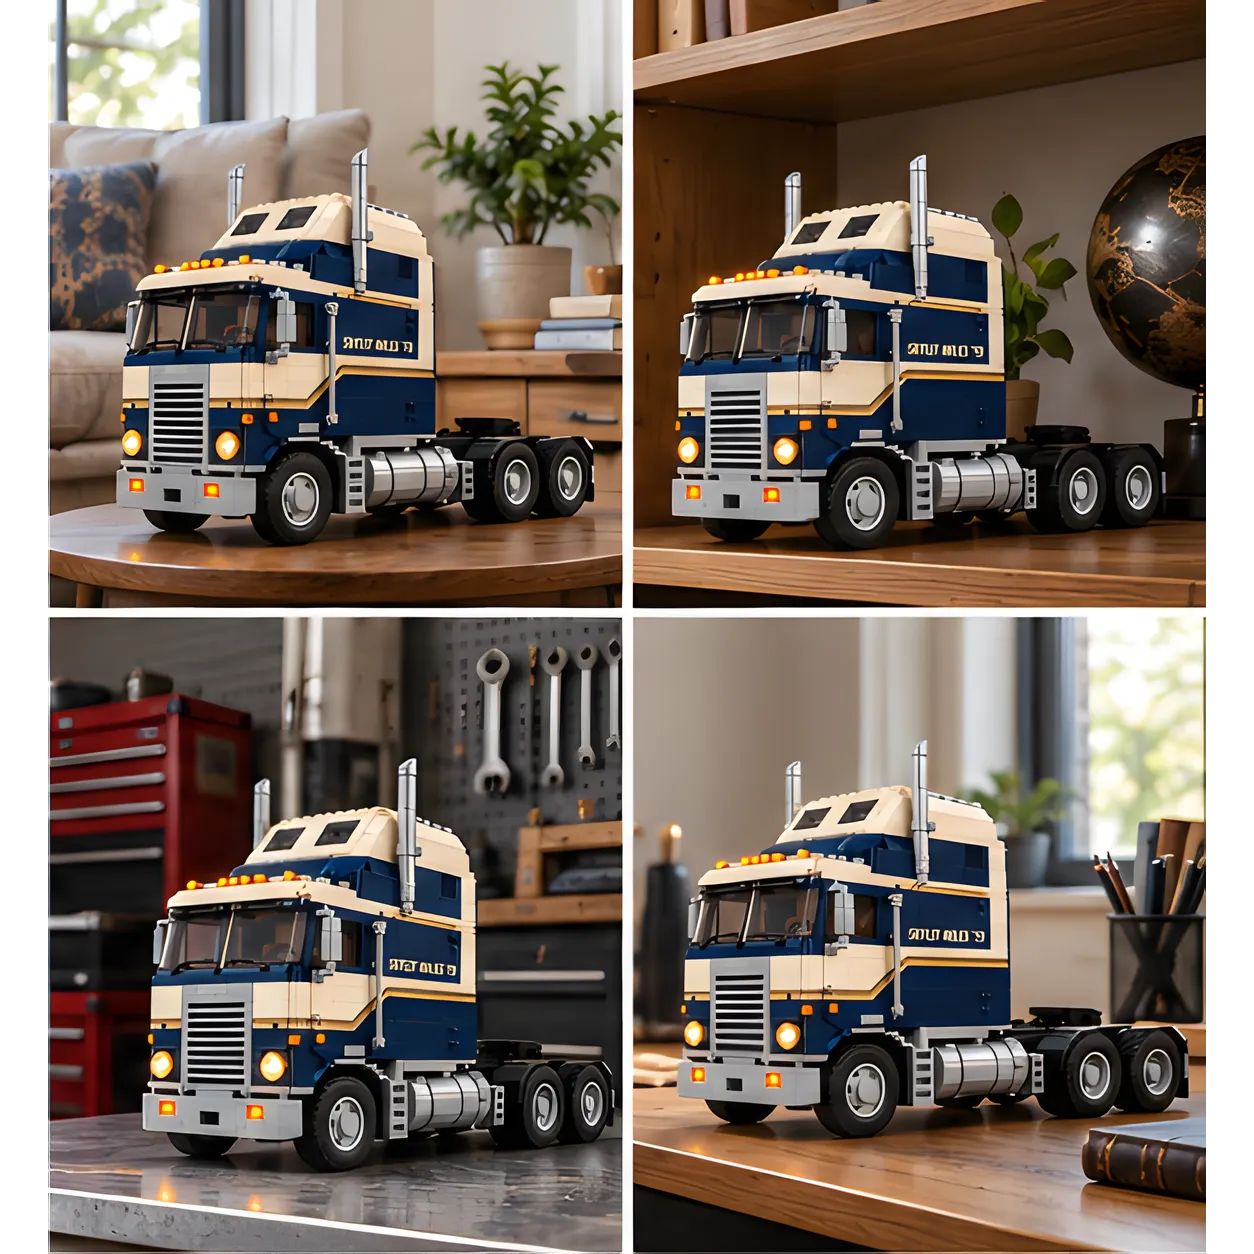
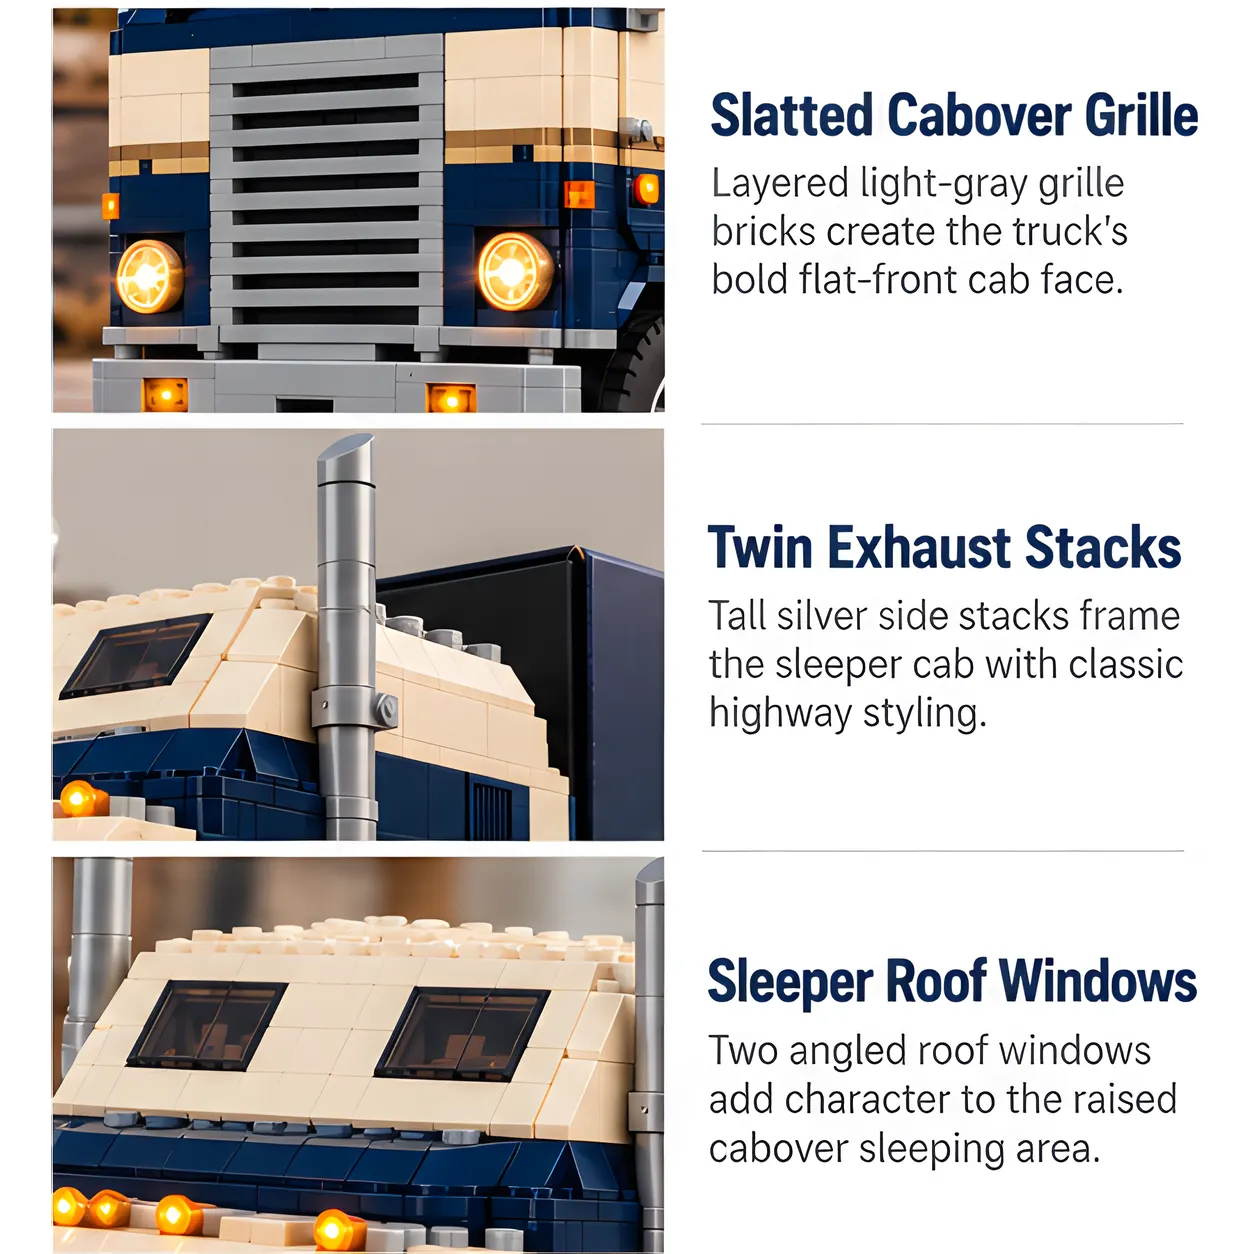
Three Signature Truck Details
Each close-up connects a visible brick-built feature to the practical thinking behind classic cab-over highway tractors.
Your Cabover Takes Shape
The experience moves from a low mechanical base to the tall, unmistakable cab that gives this truck its personality.
Settle into the chassis, wheel layout, fuel tank, and trailer coupling area while the truck's long-haul proportions begin to form.
The slatted grille, cream beltline, angled roof glazing, and twin stacks turn the structure into a recognizable raised-roof cabover.
Complete the navy-and-cream body, round headlamp details, and paired rear drive axles, then choose a shelf, desk, or workbench for display.
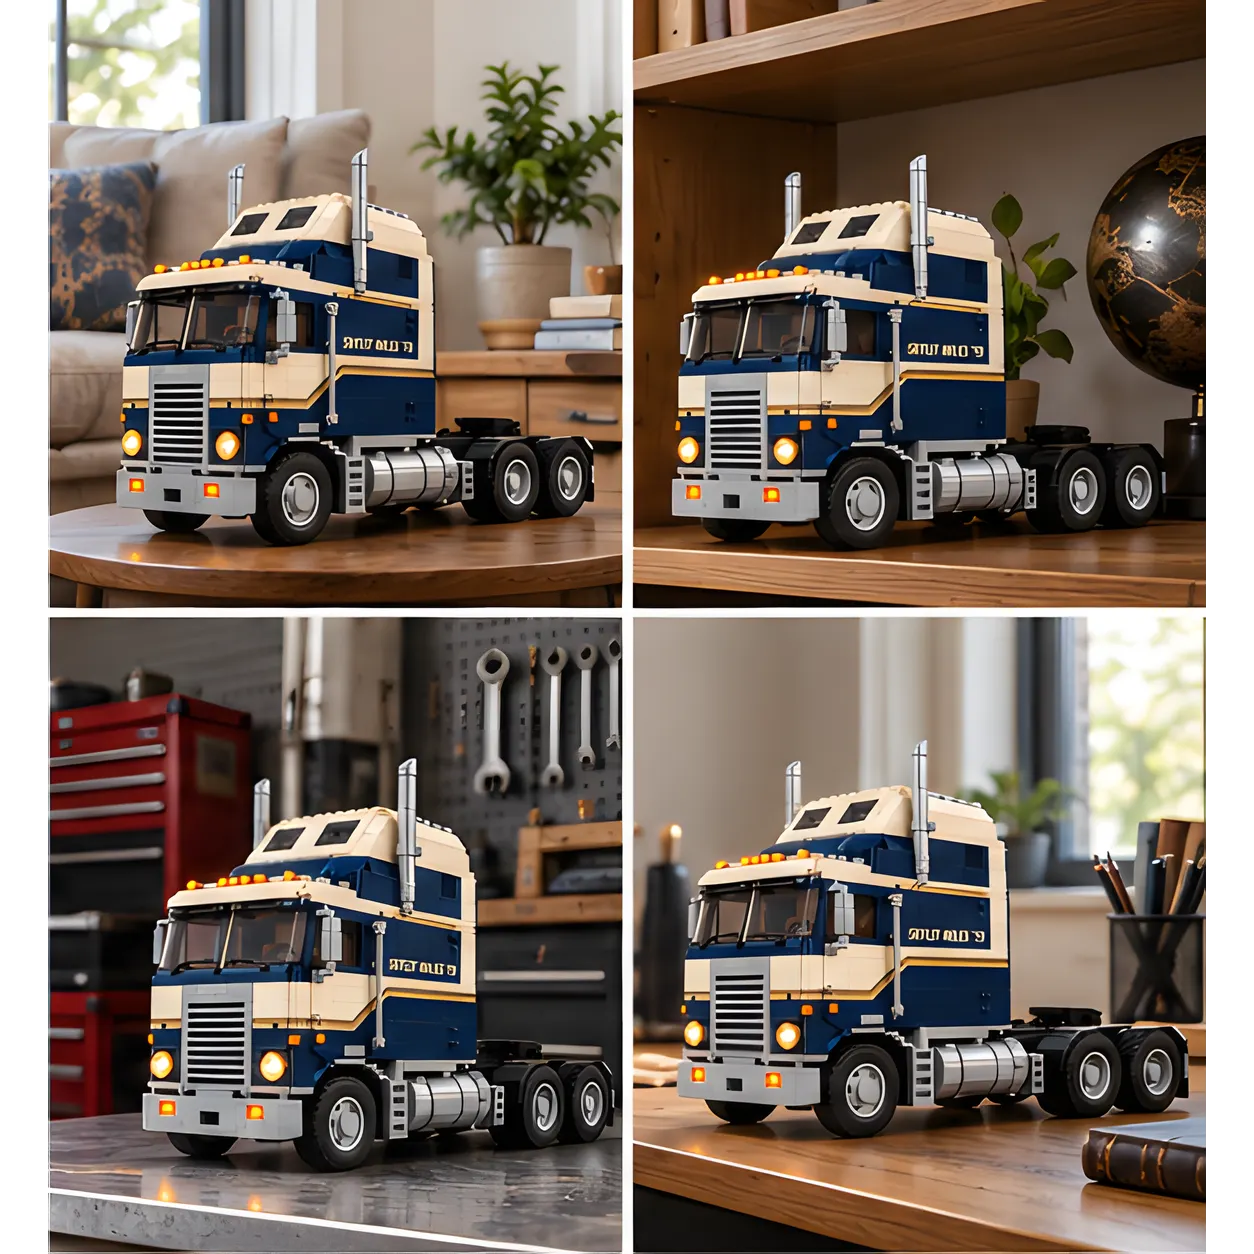
Where the Finished Truck Belongs
The tall sleeper, deep navy body, cream striping, silver stacks, and squared-off nose make the completed build readable from across a room, not just up close.
Put the Phone Down for a While
Sort the pieces, compare the grille layers, and line up the roof windows and stacks with someone beside you. It is a physical project with natural pauses for conversation, and the finished truck remains when the screens come back on.
For the Truck Person in Your Life
Skylit Miles '79 fits birthdays, Father's Day, holidays, retirement celebrations, or a thoughtful surprise for a partner, friend, parent, or adult family member who follows classic trucks, road culture, or brick building.
The illustrated box gives them something recognizable to open, but the real value comes in two parts: an evening spent assembling the slatted grille, raised sleeper, and twin stacks, followed by a finished navy-and-cream truck that can stay on display long after the occasion.
Open the box for the project. Keep the cabover for the years.GOOD TO KNOW
No. It is a brick building set designed to be assembled piece by piece, with the cab, chassis, wheels, sleeper, and exterior details taking shape during the build.
The broad slatted front grille, high sleeper with two angled roof windows, tall paired exhaust stacks, and squared-off cab proportions do most of the visual work.
Yes. The completed brick-built truck has a strong three-quarter and side profile, with a navy-and-cream body, paired rear drive axles, silver fuel tank, and exposed trailer coupling area that suit shelf or desk display.
It can be a relaxed shared project for two builders who want to sort pieces and trade sections. If younger builders are involved, follow the age guidance and small-parts warnings printed on the product packaging.
It is best suited to adult truck enthusiasts, classic highway fans, transportation collectors, and brick builders who appreciate distinctive cab-over architecture and a display-worthy finished build.
Keep a Piece of the Open Road
From the broad grille and angled sleeper windows to the final rear wheel pair, Skylit Miles '79 turns a classic highway shape into something you complete with your own hands and keep as a reminder of the time spent building it.
THE BUILD JOURNEY
Explore the six steps that bring every build to life.

Every build begins with an idea, refined through sketches and digital models.

Colors, textures, and individual pieces come together to shape the design.

The design takes physical form, with attention to each piece and connection.

Parts are sorted and counted, ready for a clear, organized building experience.

Pieces and instructions are brought together in a set ready to open and enjoy.

The finished set is packed for its next destination: your building table.
Process images are for illustration only.
BUILT FOR CURIOUS MINDS
Discover the details. Enjoy the build. Display what you create.

Connect each piece and enjoy seeing your model take shape, one detail at a time.
Explore distinctive forms and small details that give the finished model its character.

Take time to build, discover how it all fits together, and create something to display.
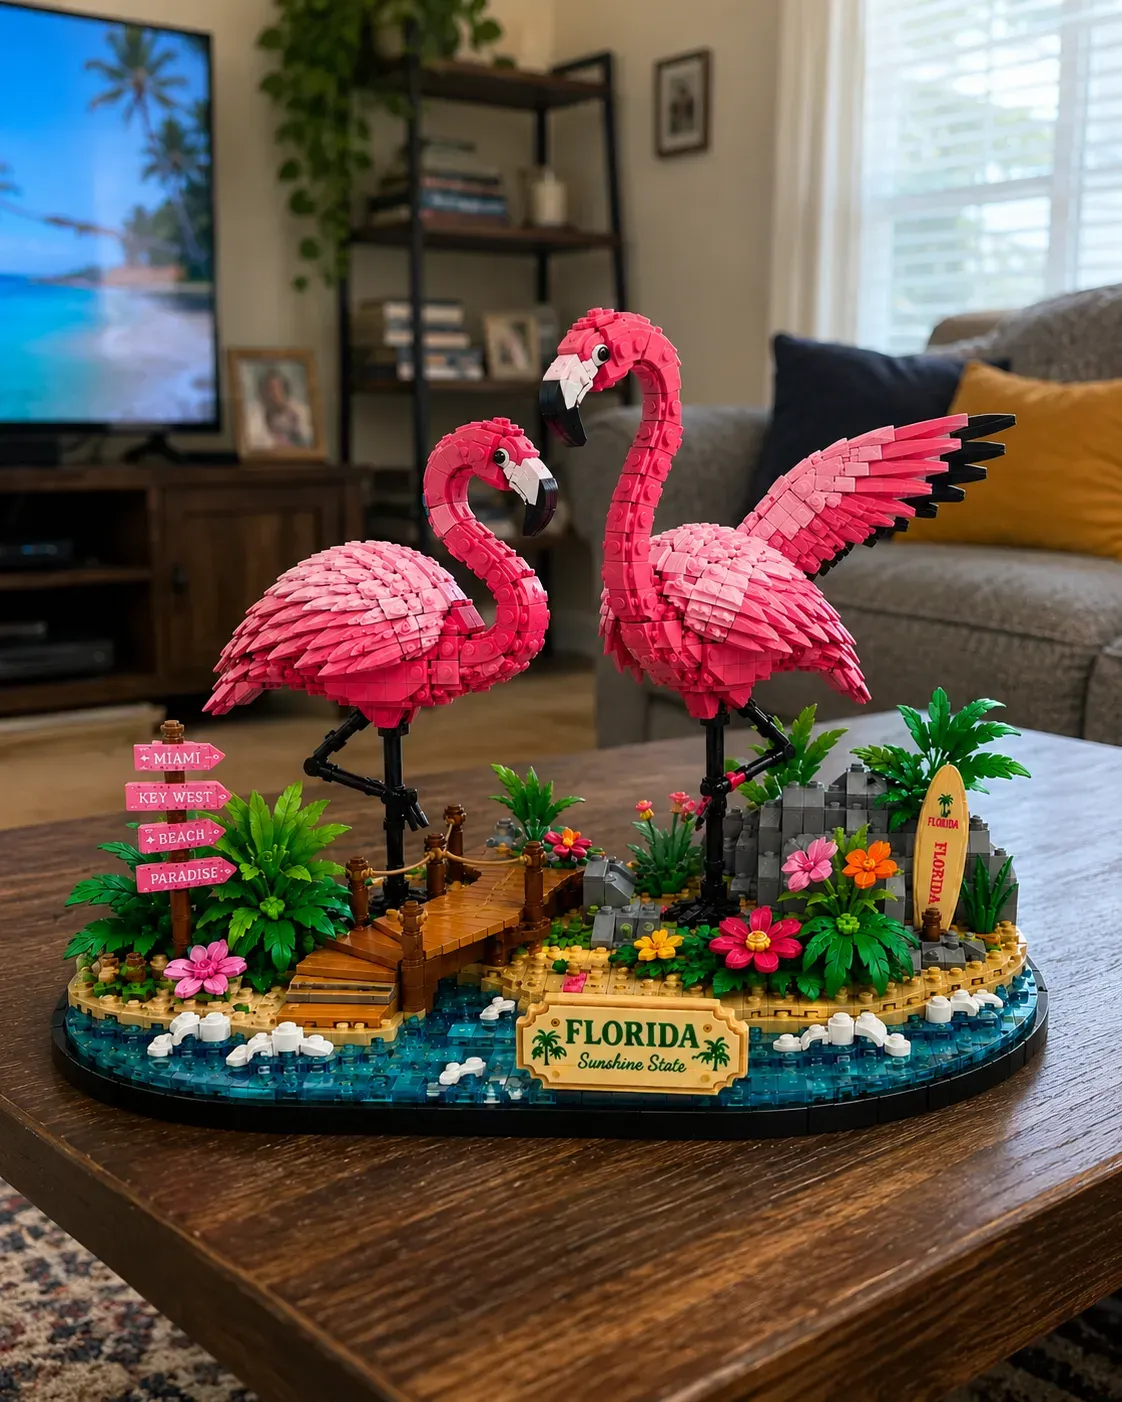
“The colors make this such a cheerful display. Watching the scene come together was my favorite part of the build.”— Olivia Bennett
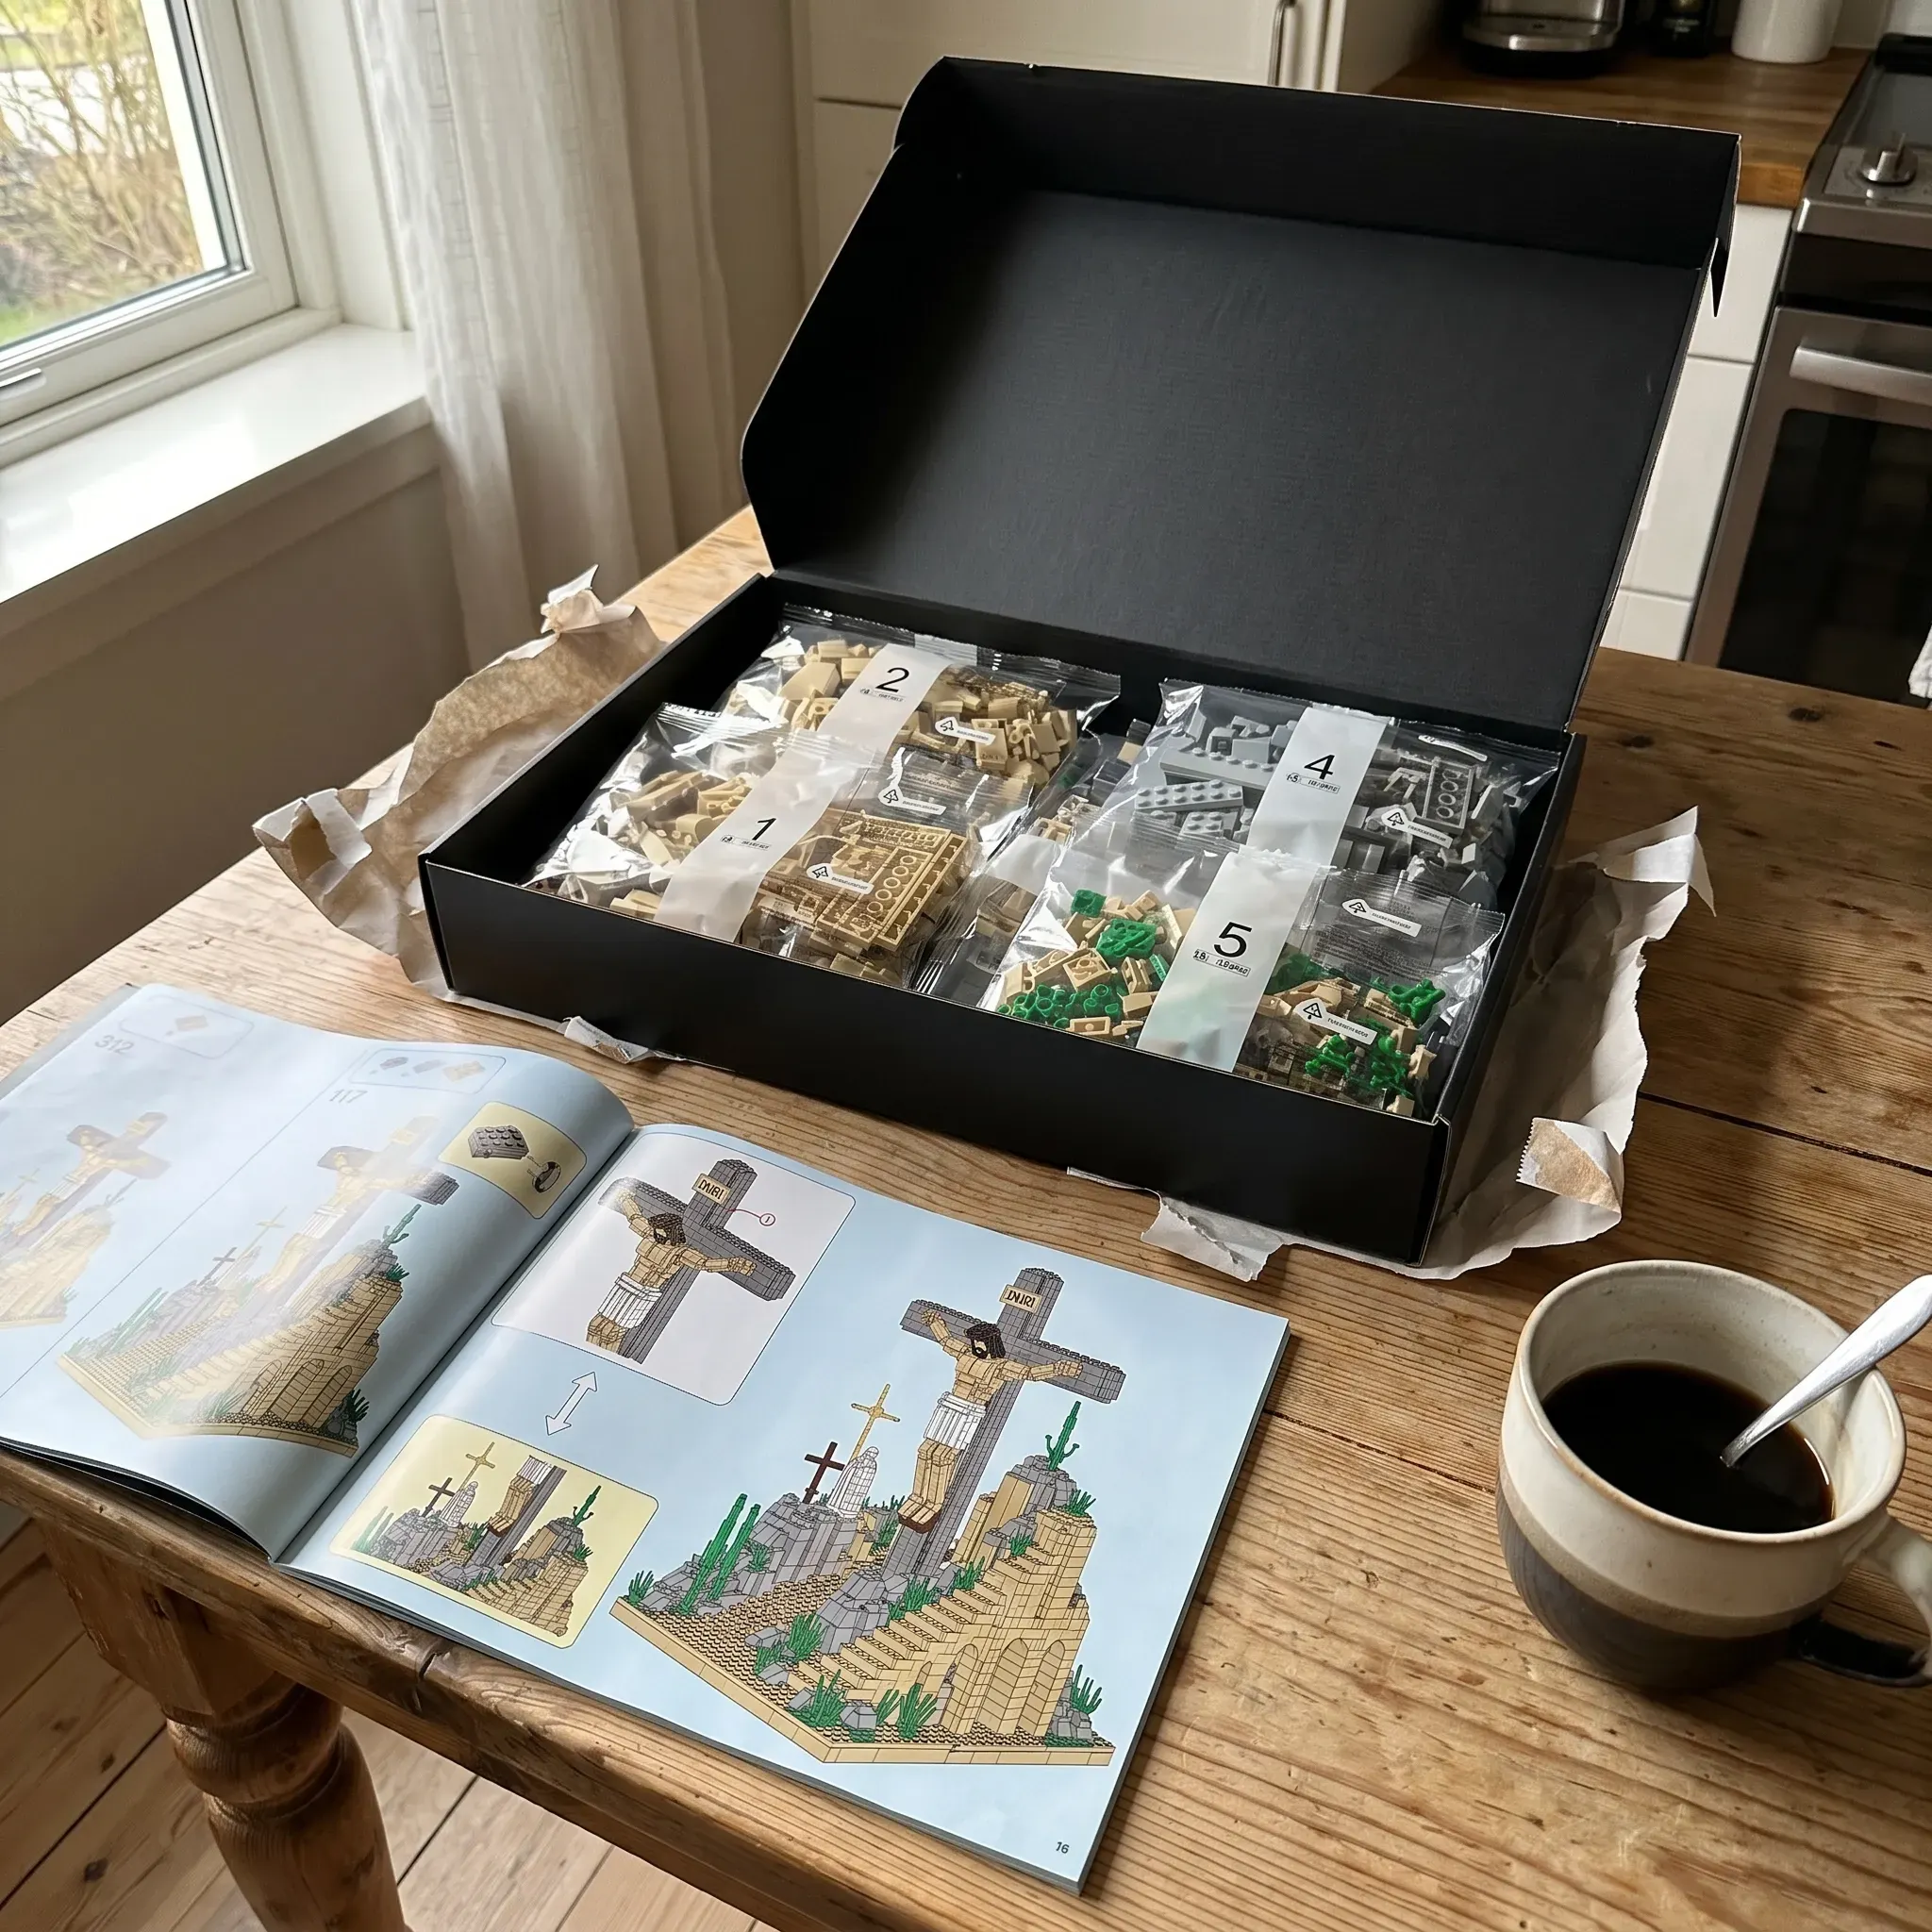
“A relaxing project for a quiet afternoon. I liked taking my time with the small details and seeing the finished result.”— Ethan Carter

“The character has so much personality on the shelf. Some of the tiny pieces took patience, but I enjoyed the challenge.”— Sophia Reed
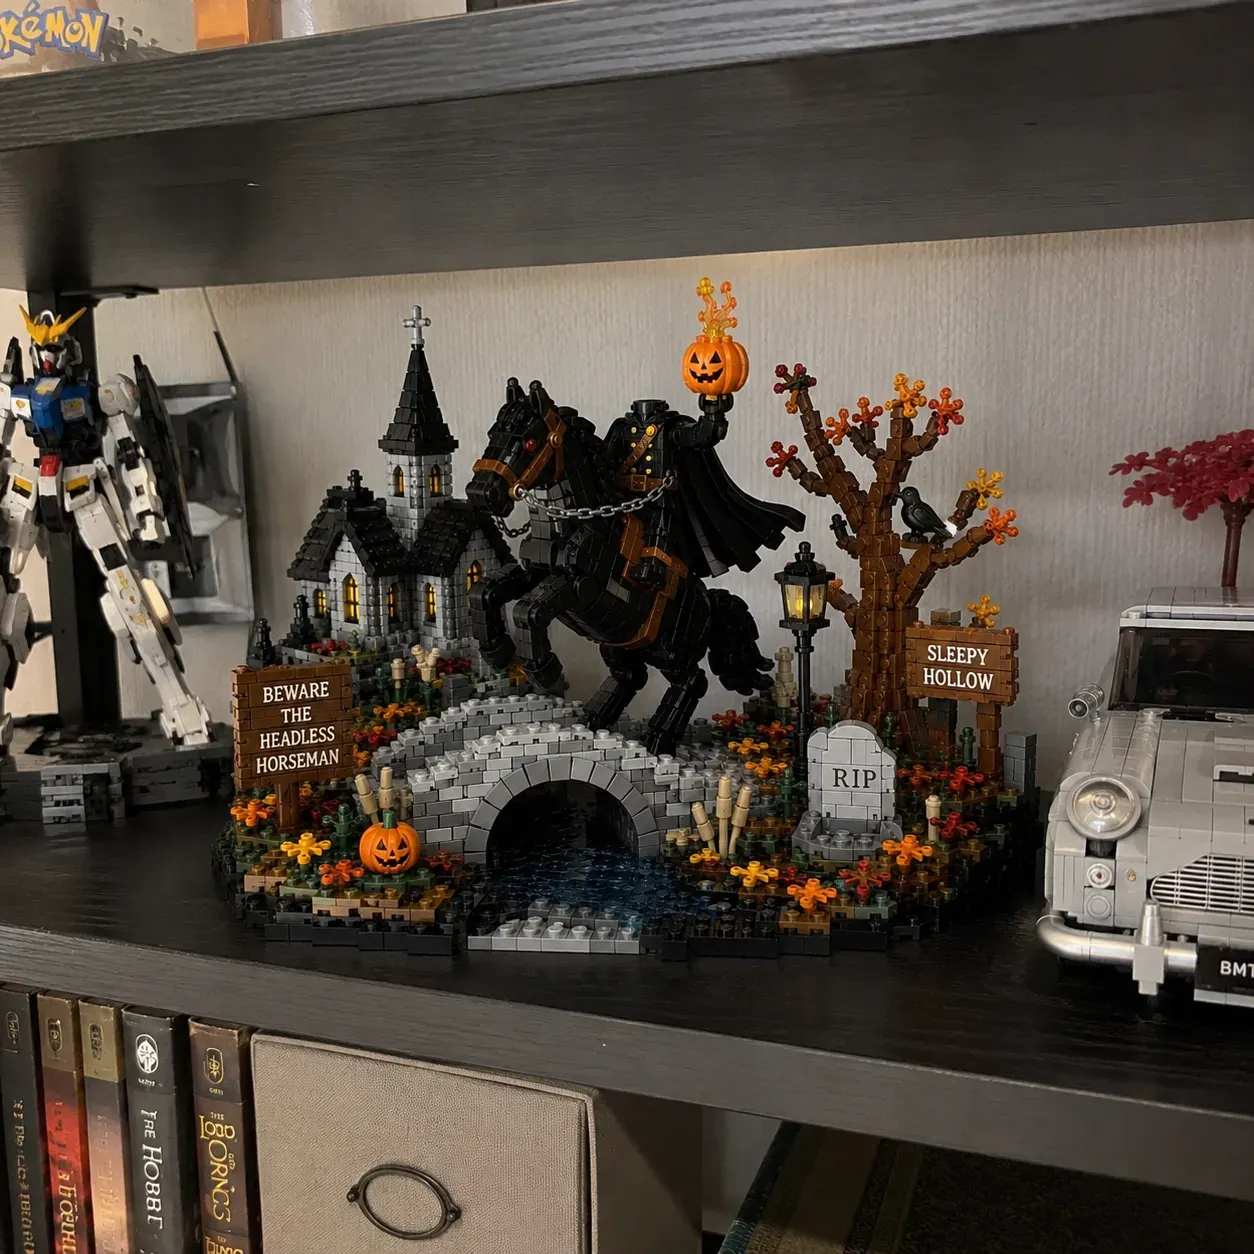
“There are little details to discover throughout the scene. It was a fun seasonal project to put together and display.”— Lucas Morgan
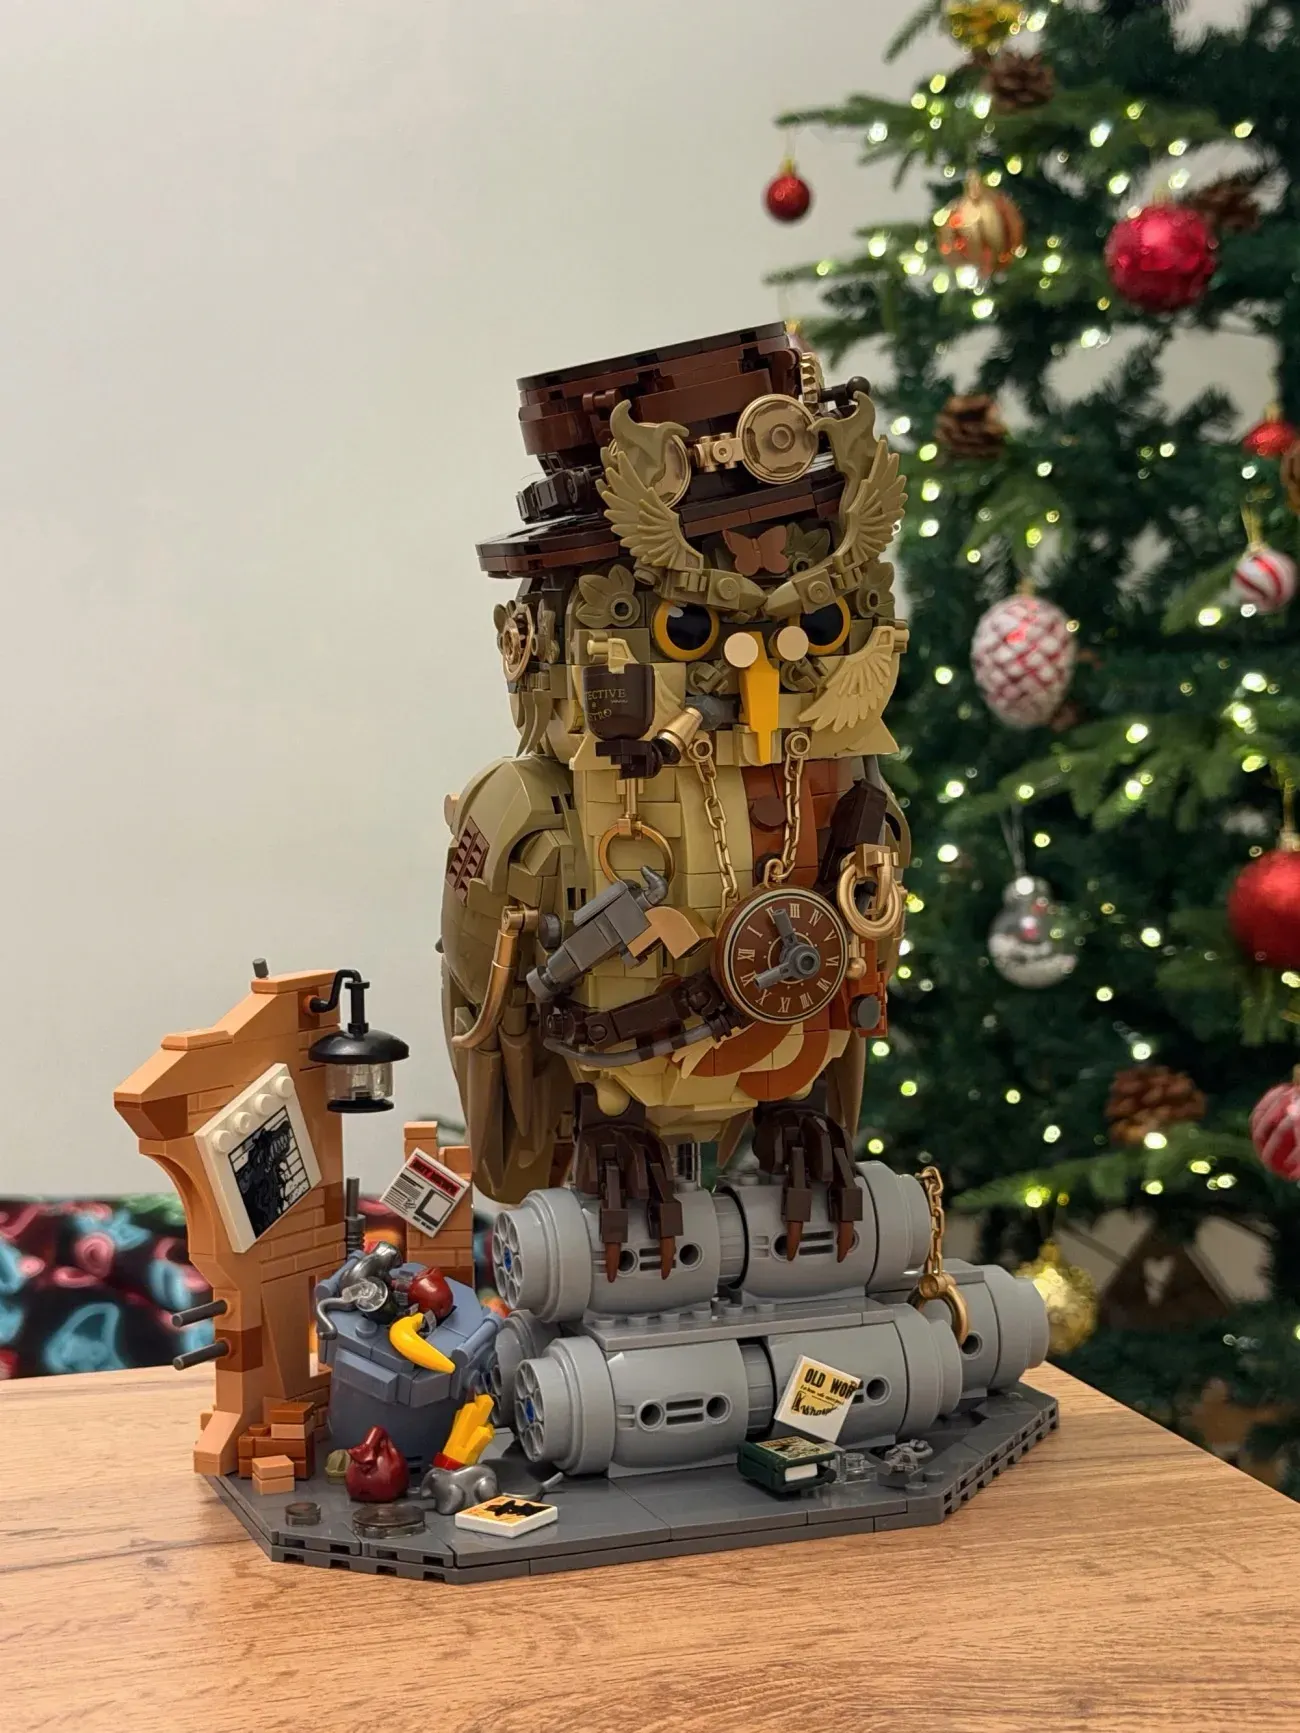
“The layered details give the owl a distinctive look. It has become an eye-catching piece in my collection.”— Emma Hayes
loading